Hey there, how are you? I'm an 18 year old a backend developer and an aspiring Machine Learning Engineer. And in this article, I'm going to be writing about how to build a web app on your phone using Python. Let's dive into it.

Requirements
The first thing we need here is an Android phone, at least version 6.0 and upward. But what if I told you that's all we need? Seems too good to be true.
Now the next thing we need to do is install a mobile application on our phone called pydroid3.
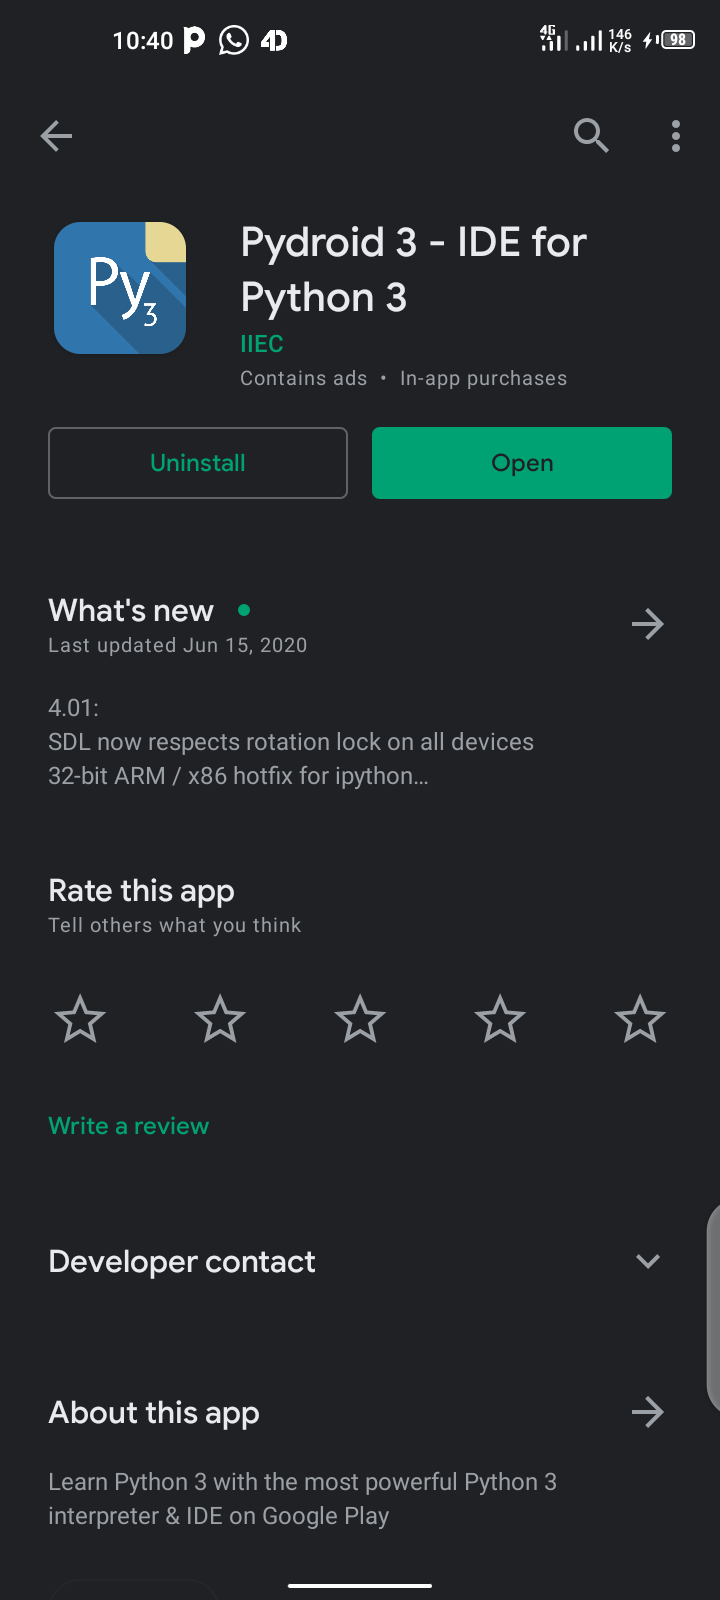
As you can see, pydroid3 is a mobile application that lets you write Python on your mobile phone, so go ahead and install it.
The next thing we need to do is install Django. If you're not familiar with Django, please check out the Django docs here.
To install Django we need to open up the side navigation in our pydroid3 and select Terminal:
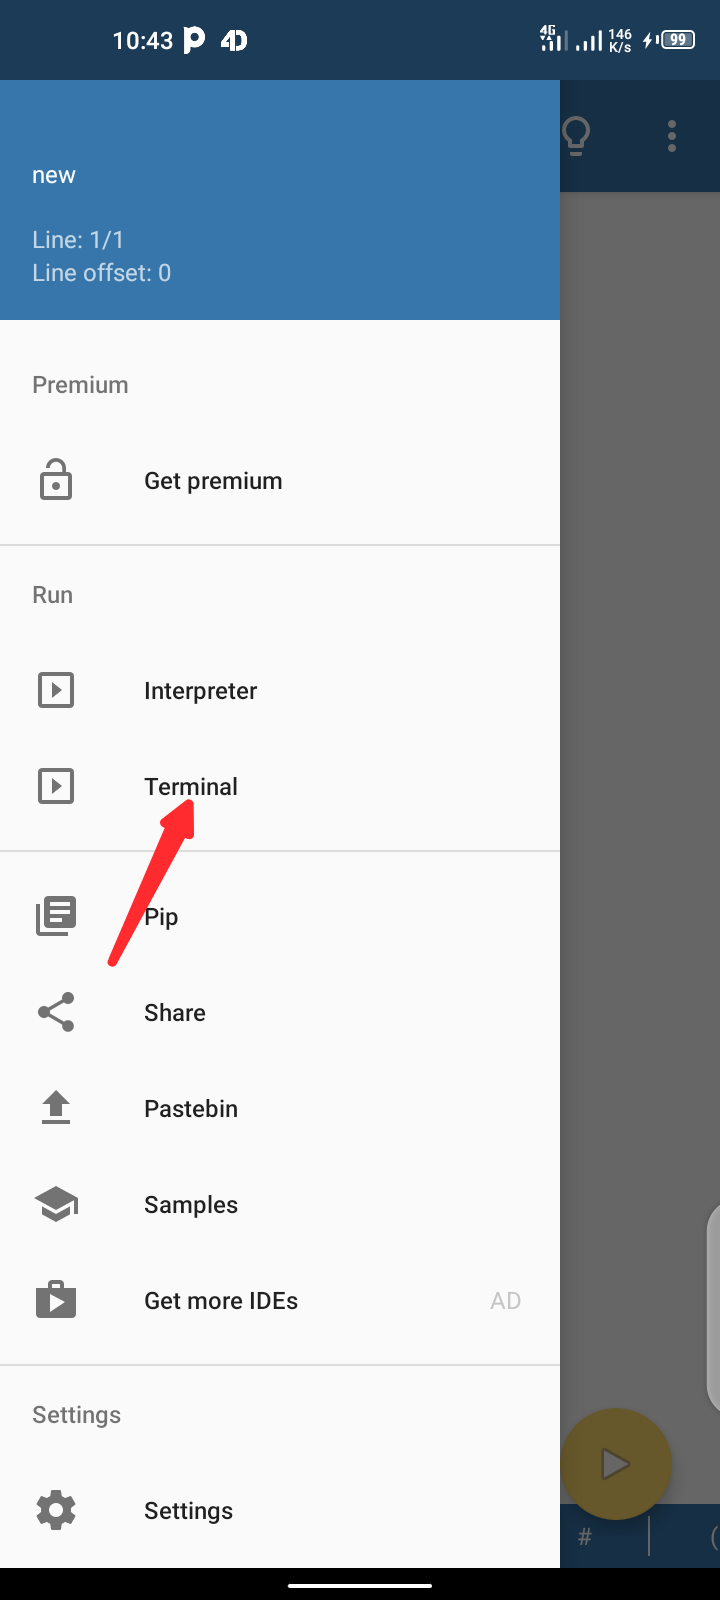
Then click on it and we should see this:
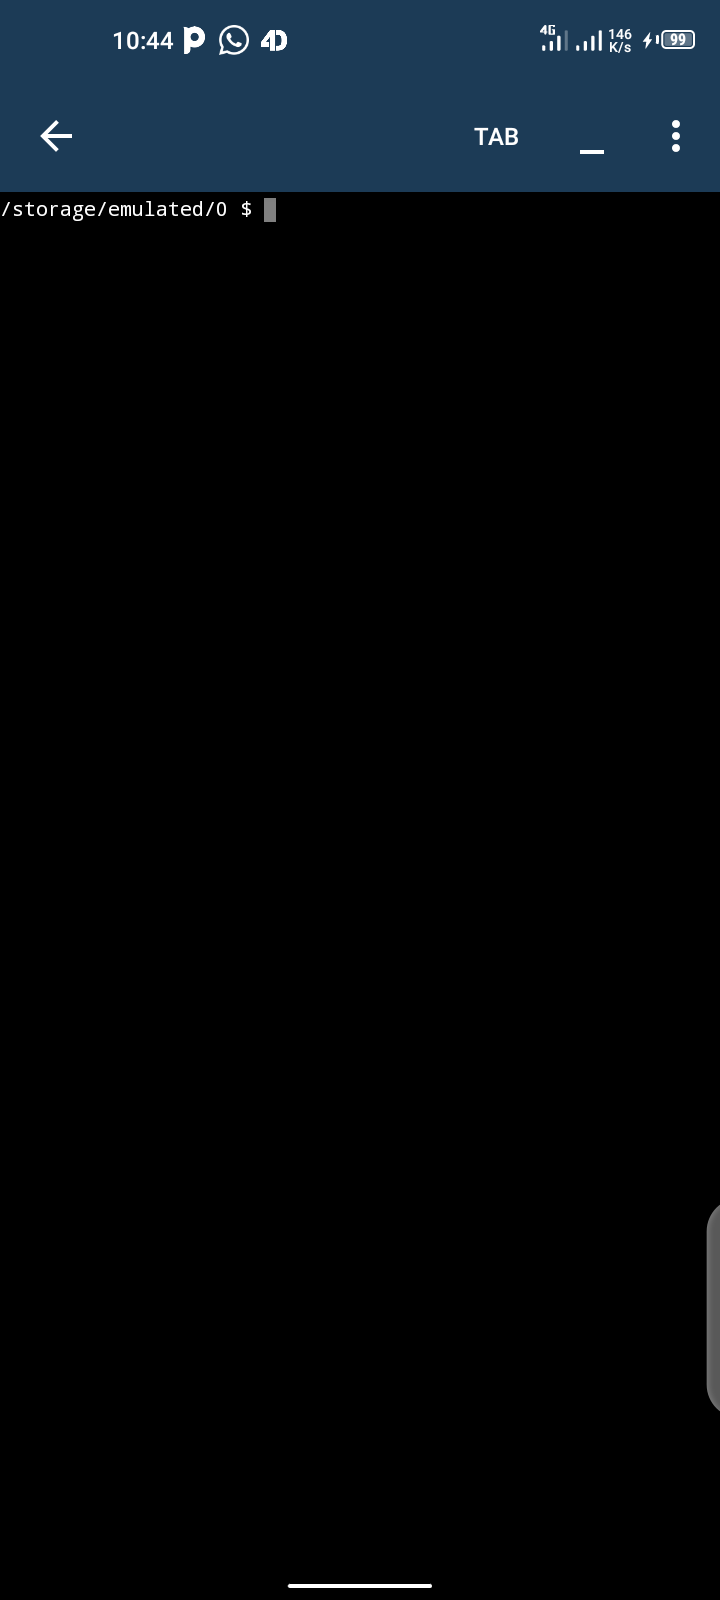
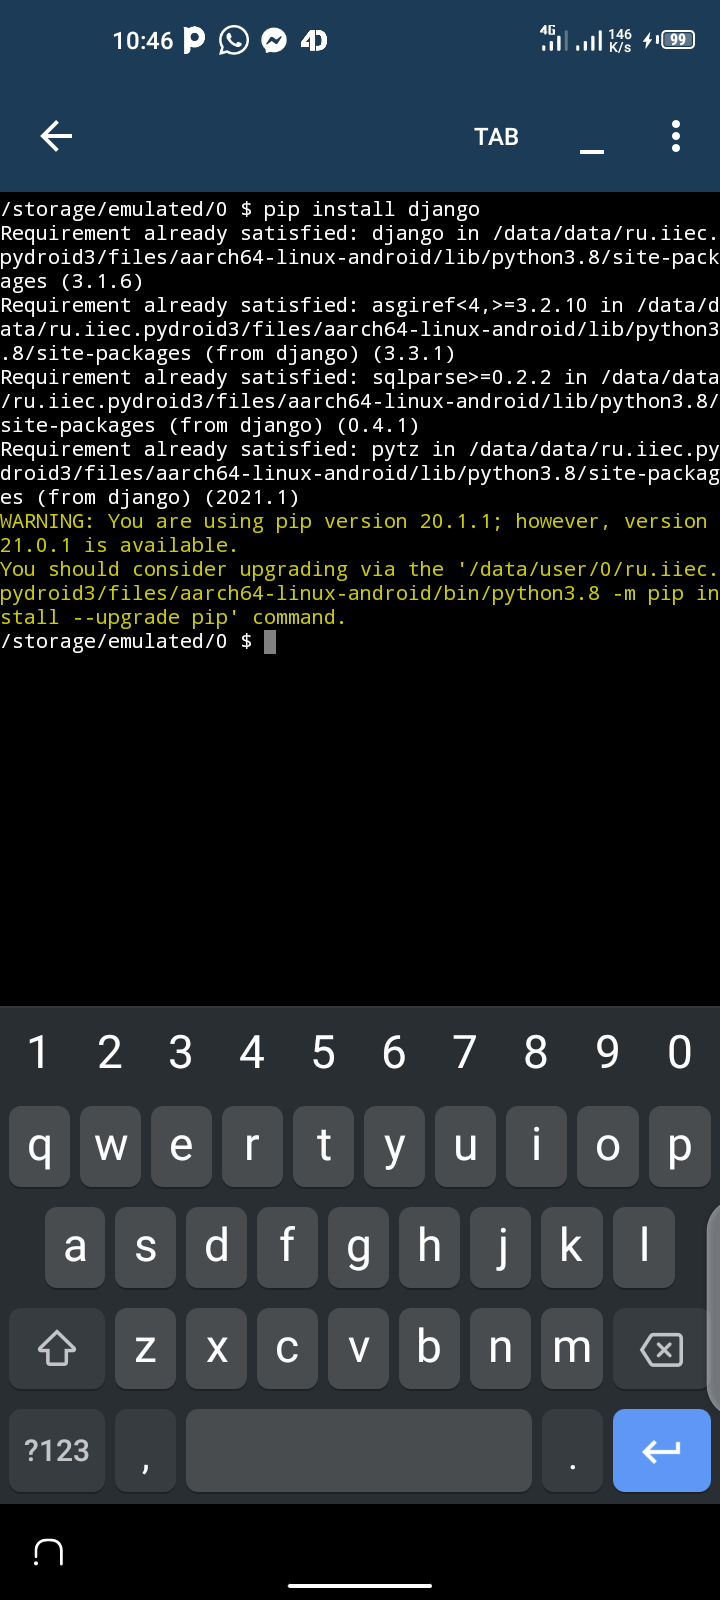
Once that is done all you need to do is type the following command:
pip install djangoAnd you should get the below. I am getting a "requirements satisfied" message because I already have it installed.
It has installed successfully, but let's confirm that. In the terminal type django-admin and hit enter.
You should get this:
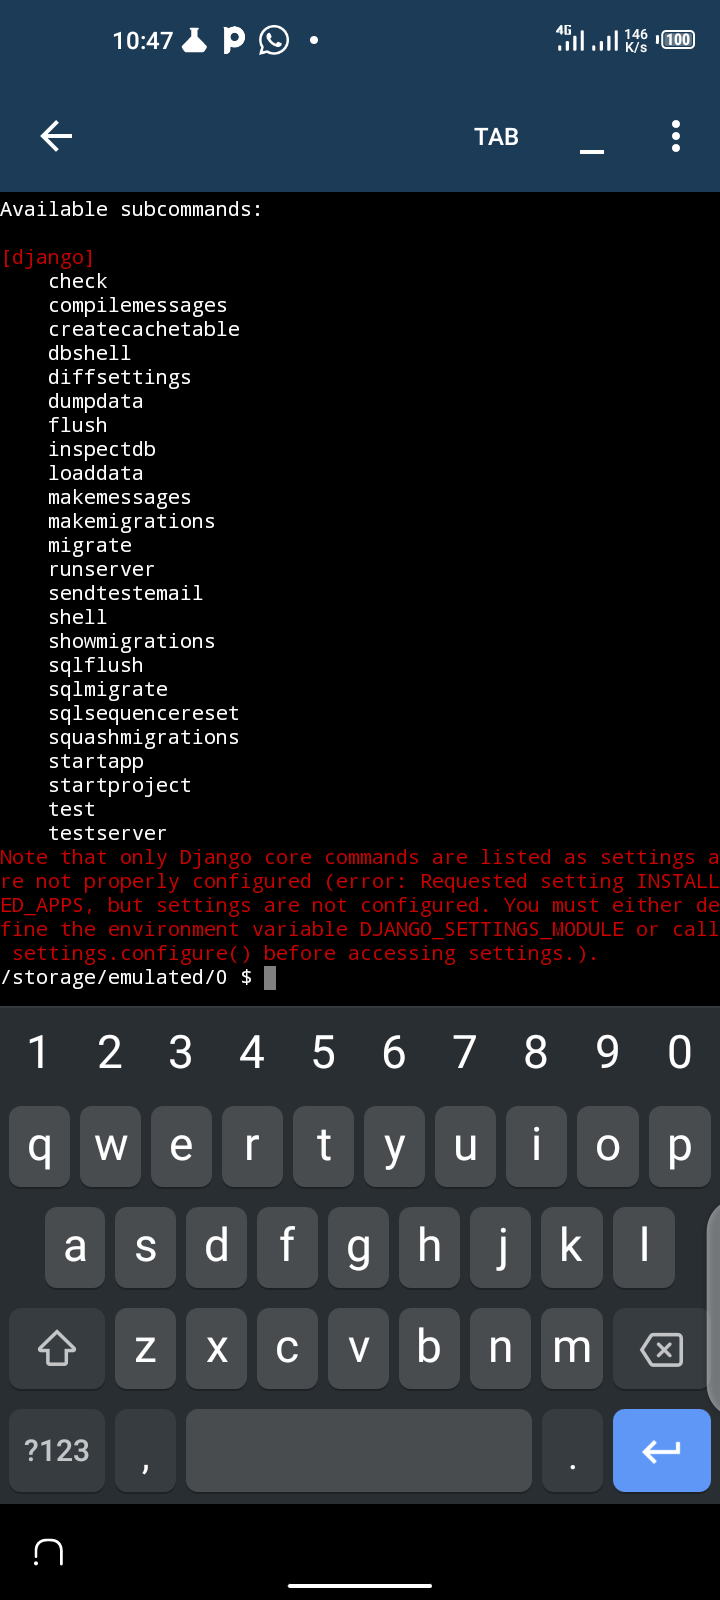
This means that it's actually installed already.
How to Build our Project
So let's get started with building our project. Open up your terminal and type in the following command:
django-admin startproject myapp
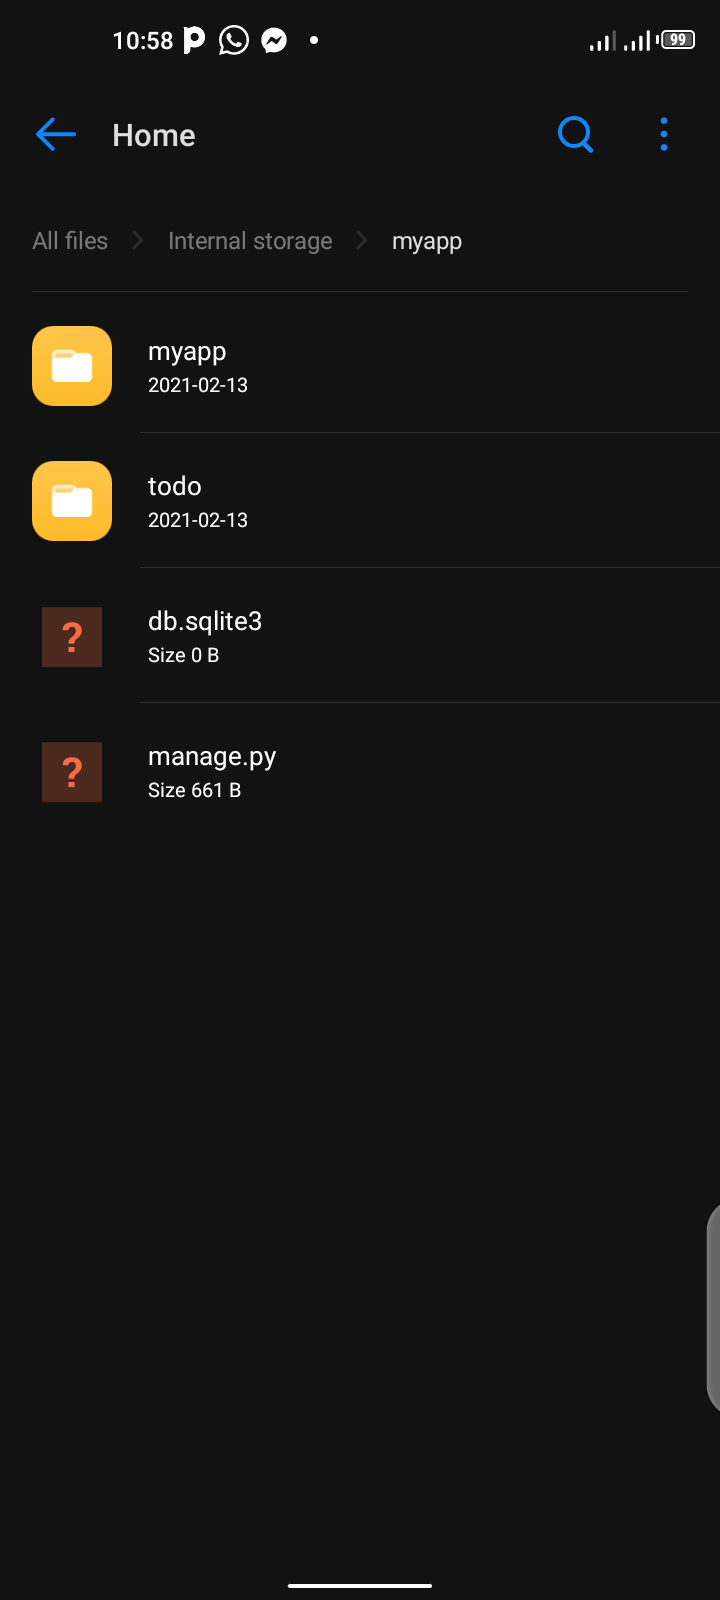
This creates a Django application called myapp in your root folder.
Change directory to it by typing cd myapp and type in python manage.py runserver. Then you should get this:
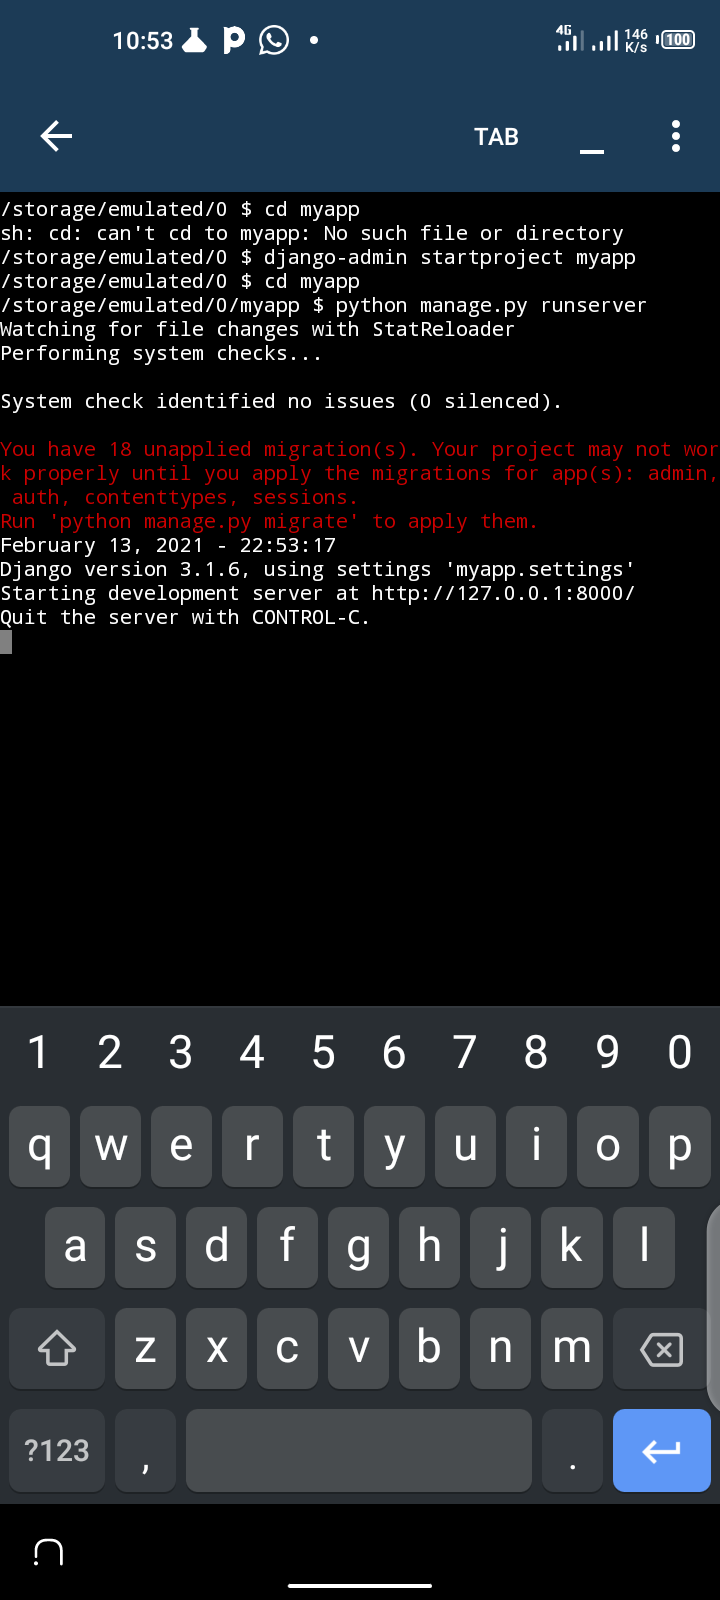
Now the server has started. Next, to test it in the browser visit 127.0.0.1:8000.
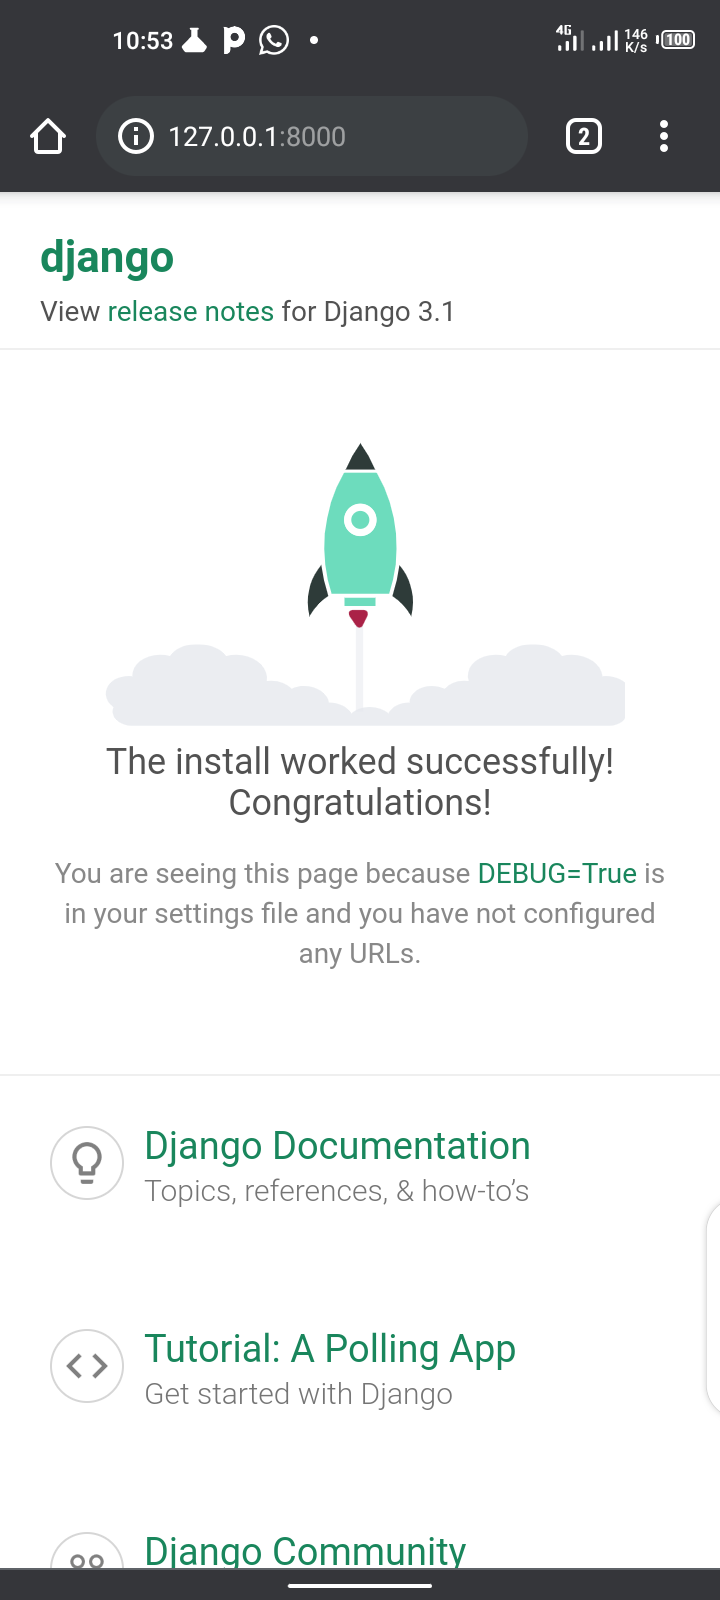
And boom! You should see that Django has been setup successfully.
The next thing we need to do is create our Django app. In Django, the project folder serves as the root while the app serves as the application itself.
To create a Django app, make sure you are still in the directory, then type python manage.py startapp todo. This creates a To-do app in our myapp project like this:
Then inside the todo folder we should see something like this:
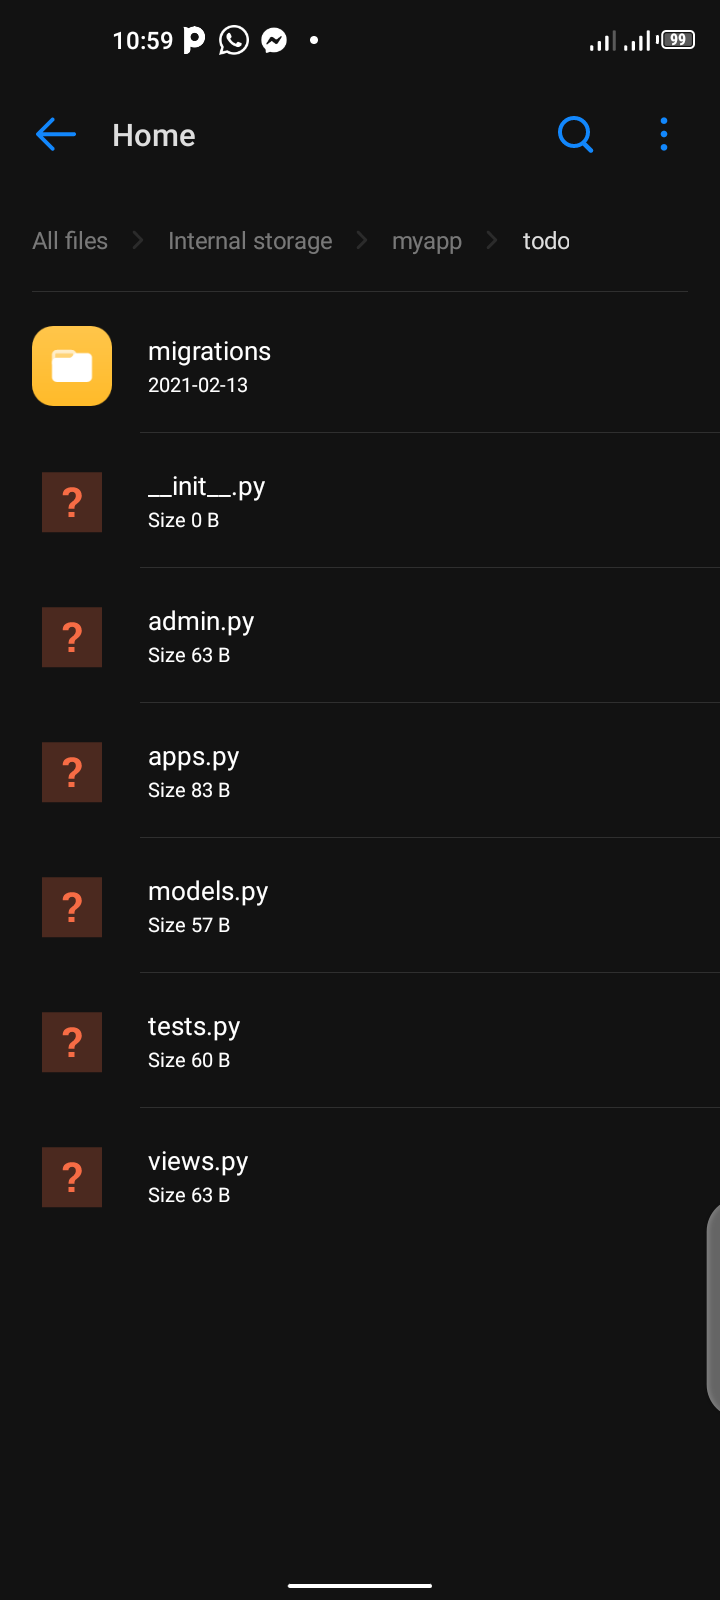
We will take a further look at the files when we begin working with them.
How to Configure our Application
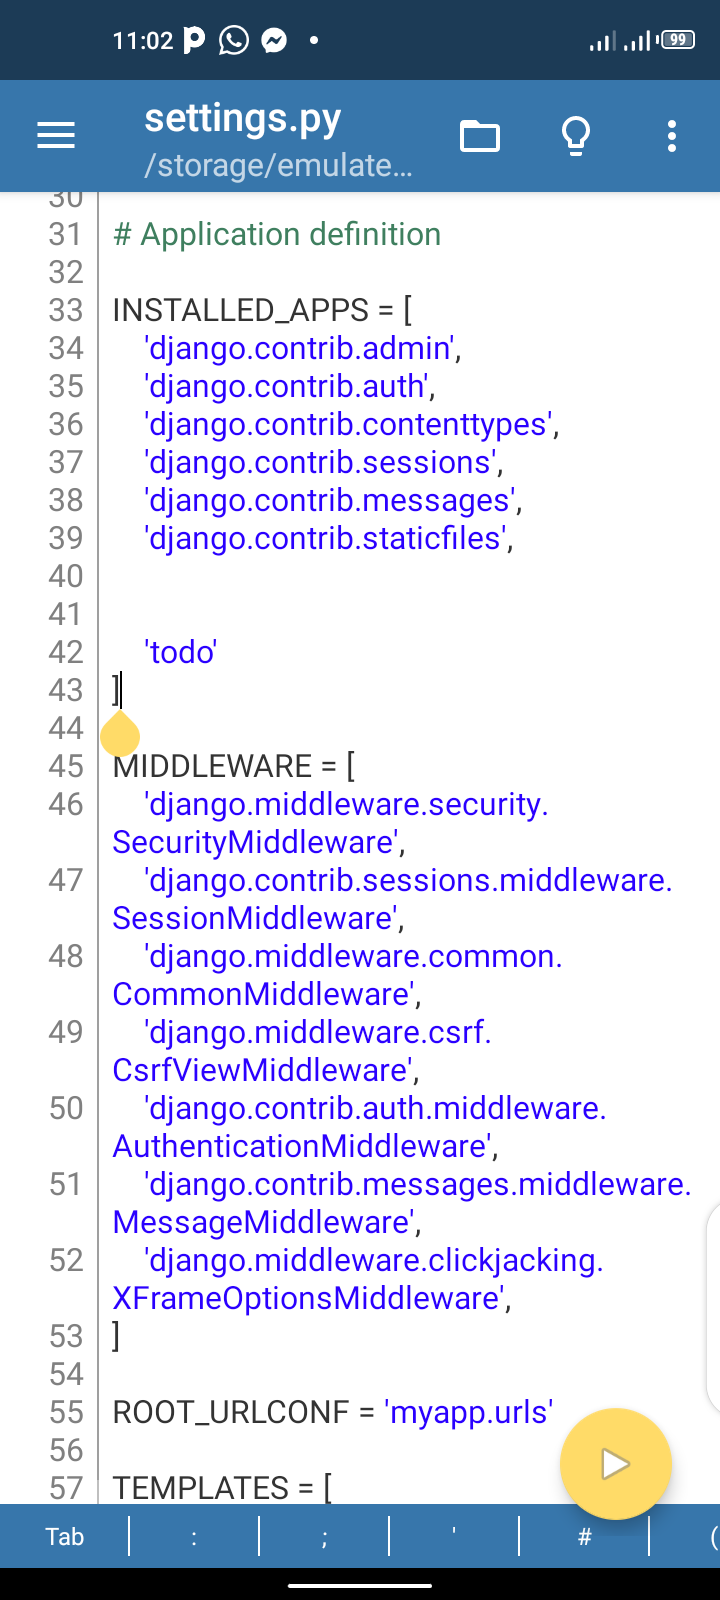
Now let's make it possible for the app to be served by the Django project. First of all, open up your settings.py file in the myapp folder and add 'todo' to the installed apps like this:
Next we need to open up our urls.py and add the following to your code:
from django.urls import path, include

path('', include('todo.urls'))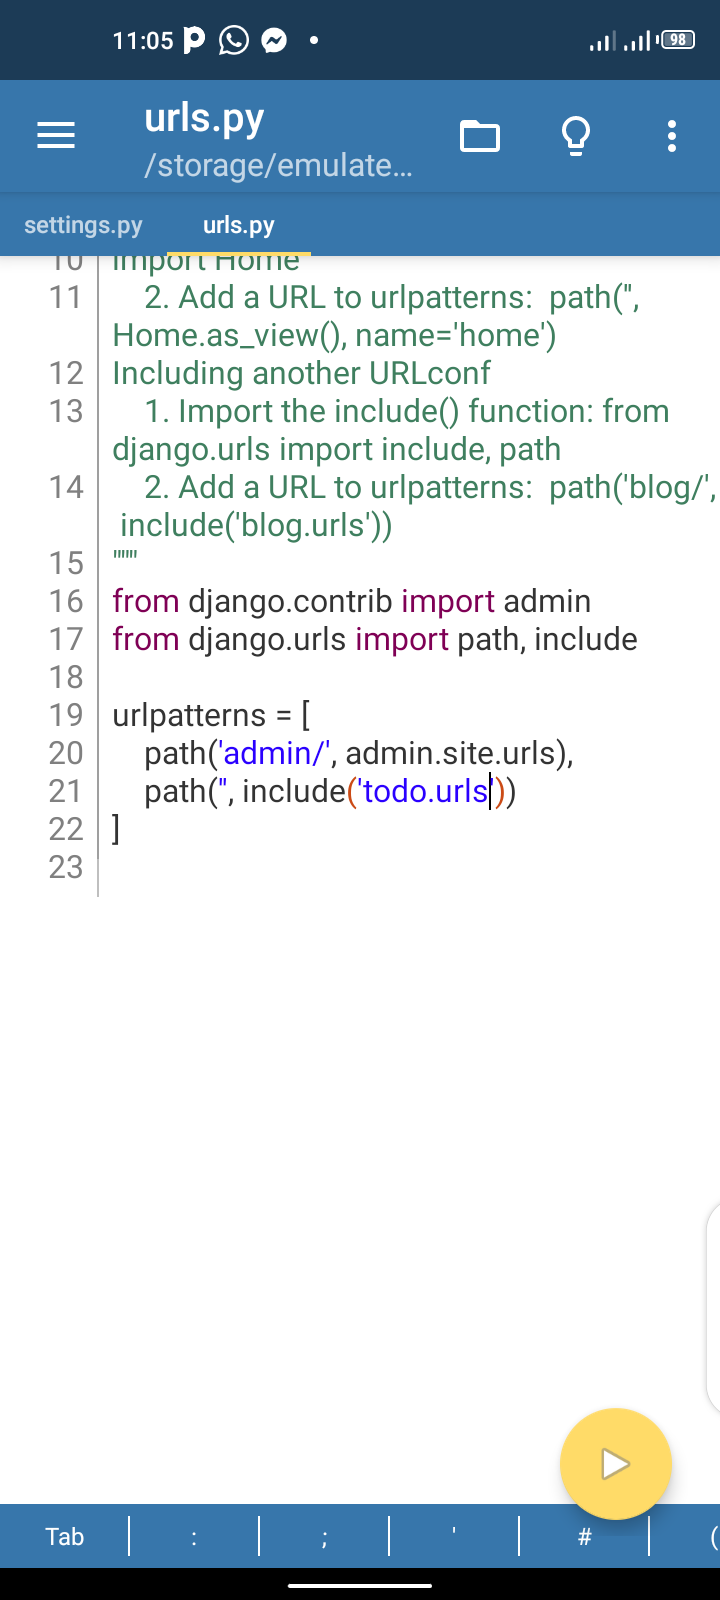
What actually happened was that I added include to the from the django.urls import path. And below the path (admin), we created an empty path that points to or includes the urls.py file in the todo app directory. I hope that's clear.
Next, we need to create a new file in the todo file directory named urls.py and add the following code to it:
from django.urls import path
from . import views

urlpatterns = [
	path('', views.index, name='home')
 ]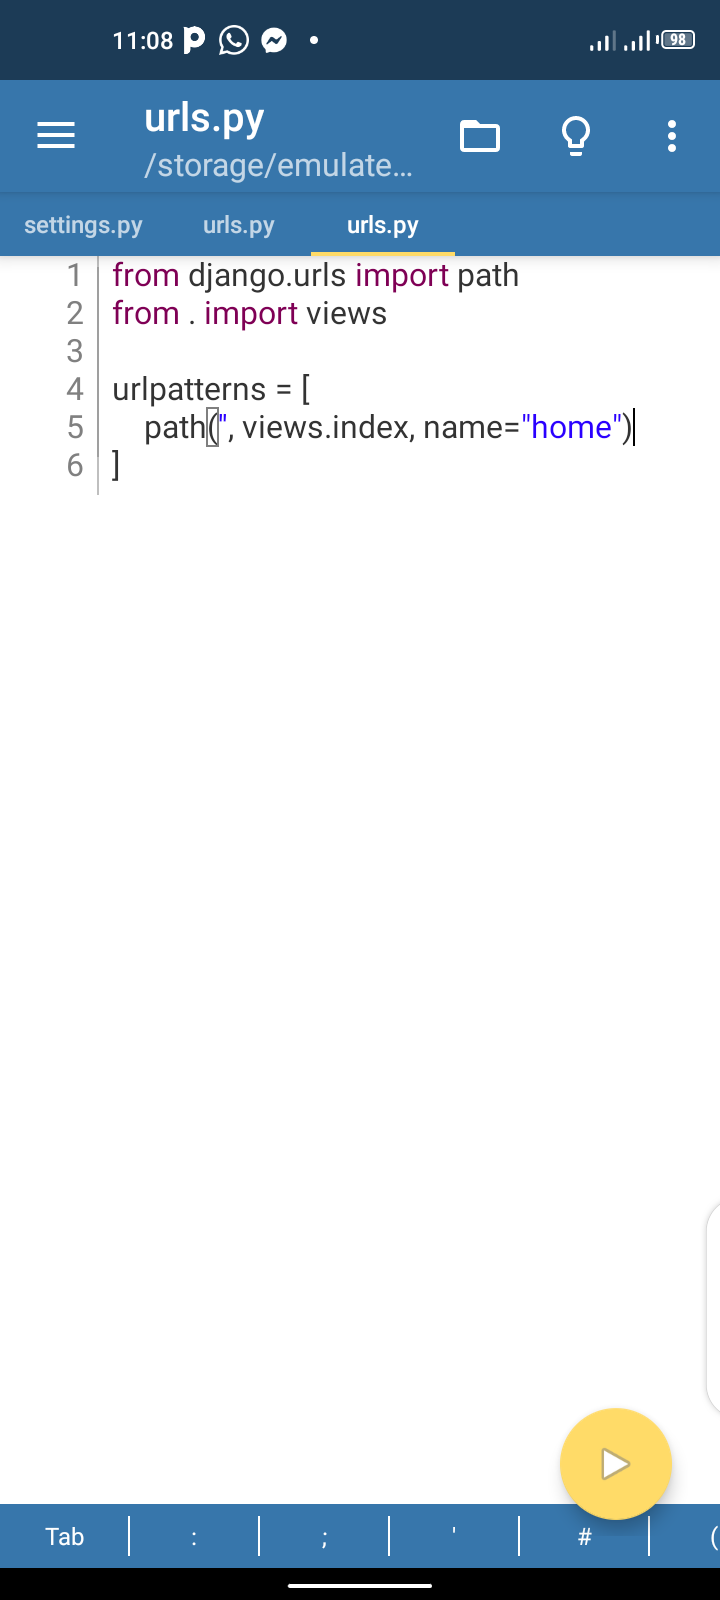
We imported path from django.urls and also imported views from the root directory. Then we created our urlpatterns with the first part as the root link. As you can see, the views.index just means that we're pointing this views to the index function in on views.py file. You will see how that works in a jiffy.
Let's go ahead to our views.py file and add some code.
At the top, import HttpResponse like this:
from django.http import HttpResponse
And add this below it:
def index(request):
	return HttpResponse('Hello')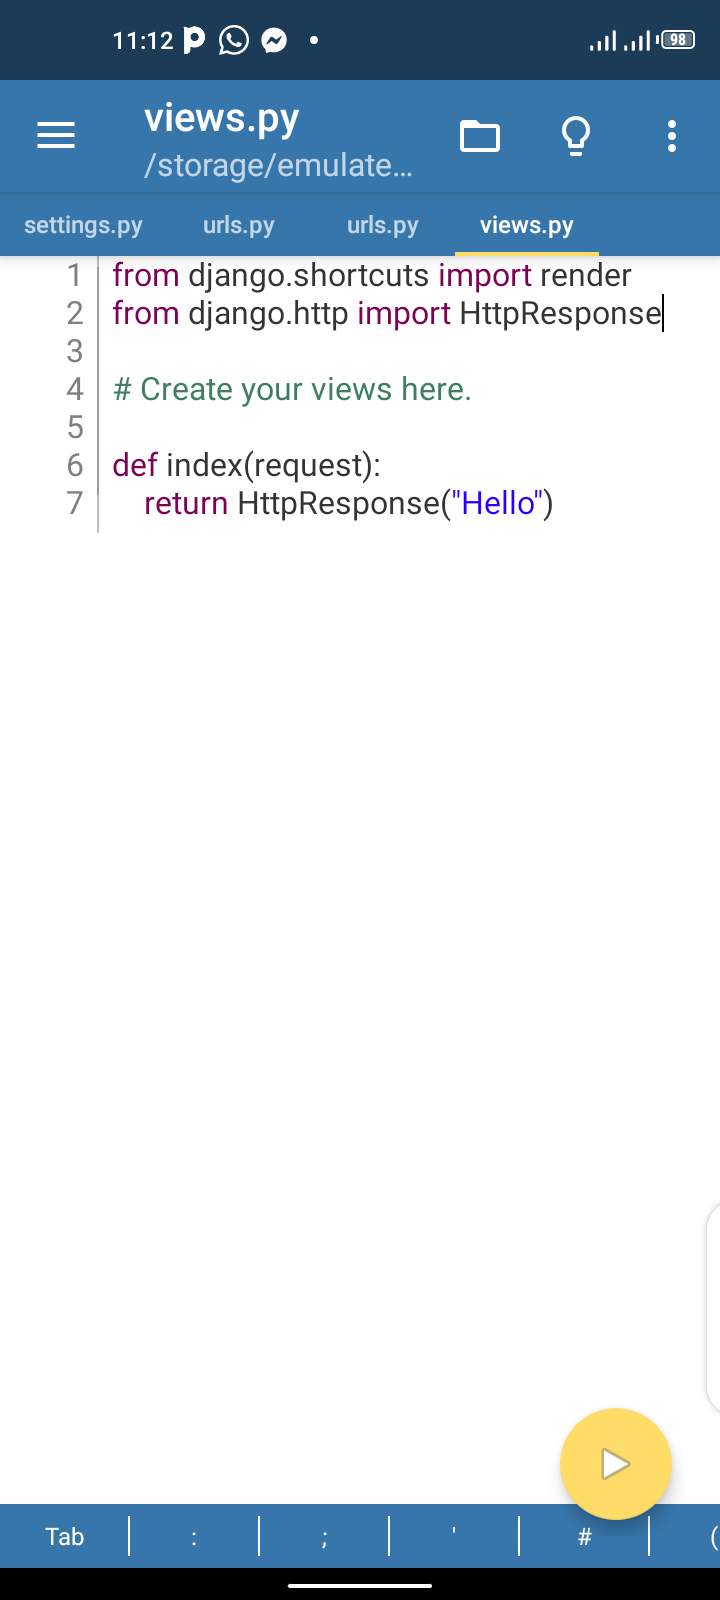
As you can see, we created the index function we called in our urls.py and we passed in a request parameter into it. Then we returned an HttpResponse.
But before the HttpResponse can work, we have to import it from django.http import HttpResponse – as simple as ABC. Let's try this: open up your terminal and cd into myapp and type python manage.py runserver to test it.
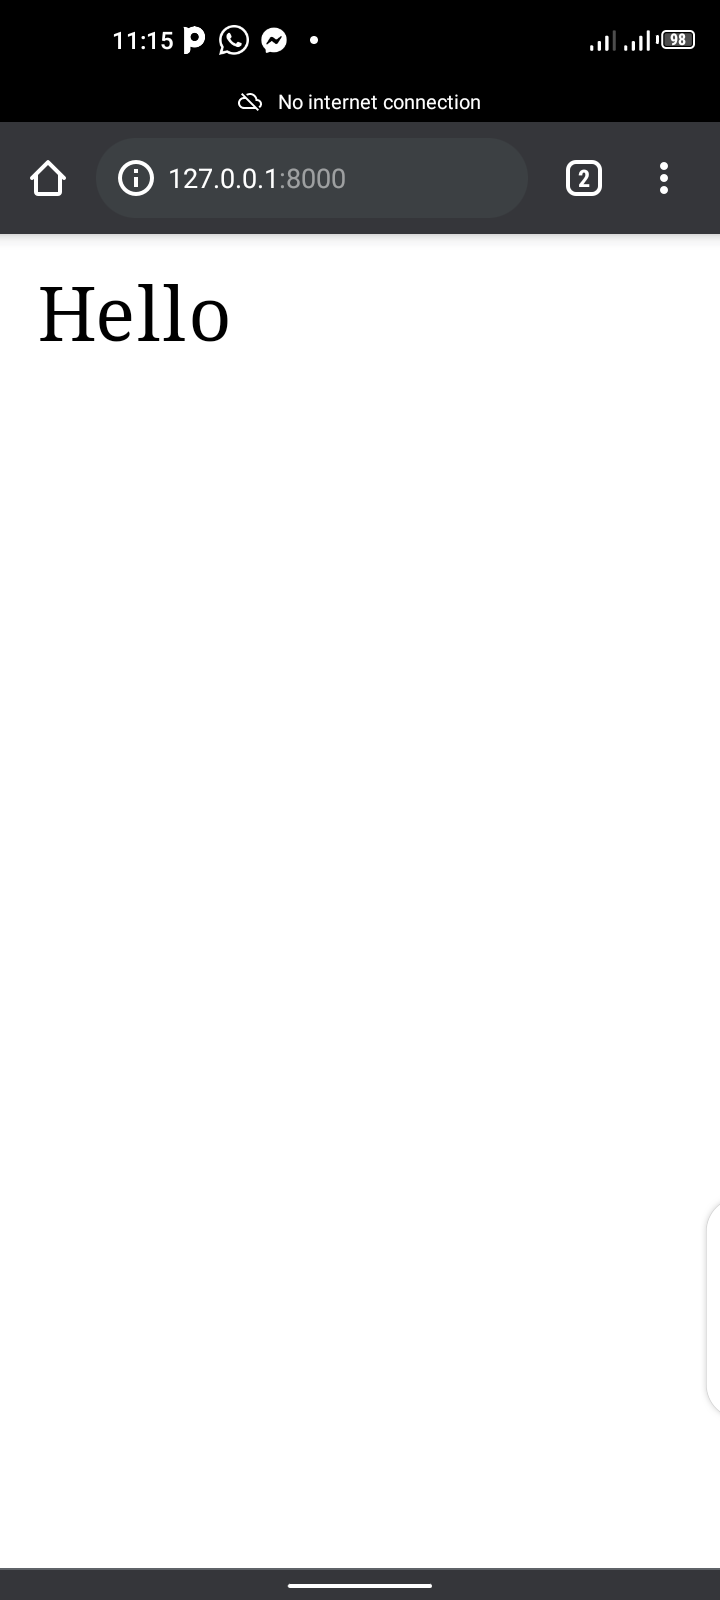
As you can see, it returned the response. So next we will load our template HTML files.
To load our HTML files we need to create a folder like this in the todo directory in this order:
todo/templates/todo
In the todo directory, create a folder called templates. Inside that folder, create a folder called todo, as simple as that.
Then go ahead and create a simple HTML file called index.html and write this in it:
<h1>Hello world</h1>
To load it, make your views.py code look like this:
def index(request):
	return render(request, 'todo/index.html')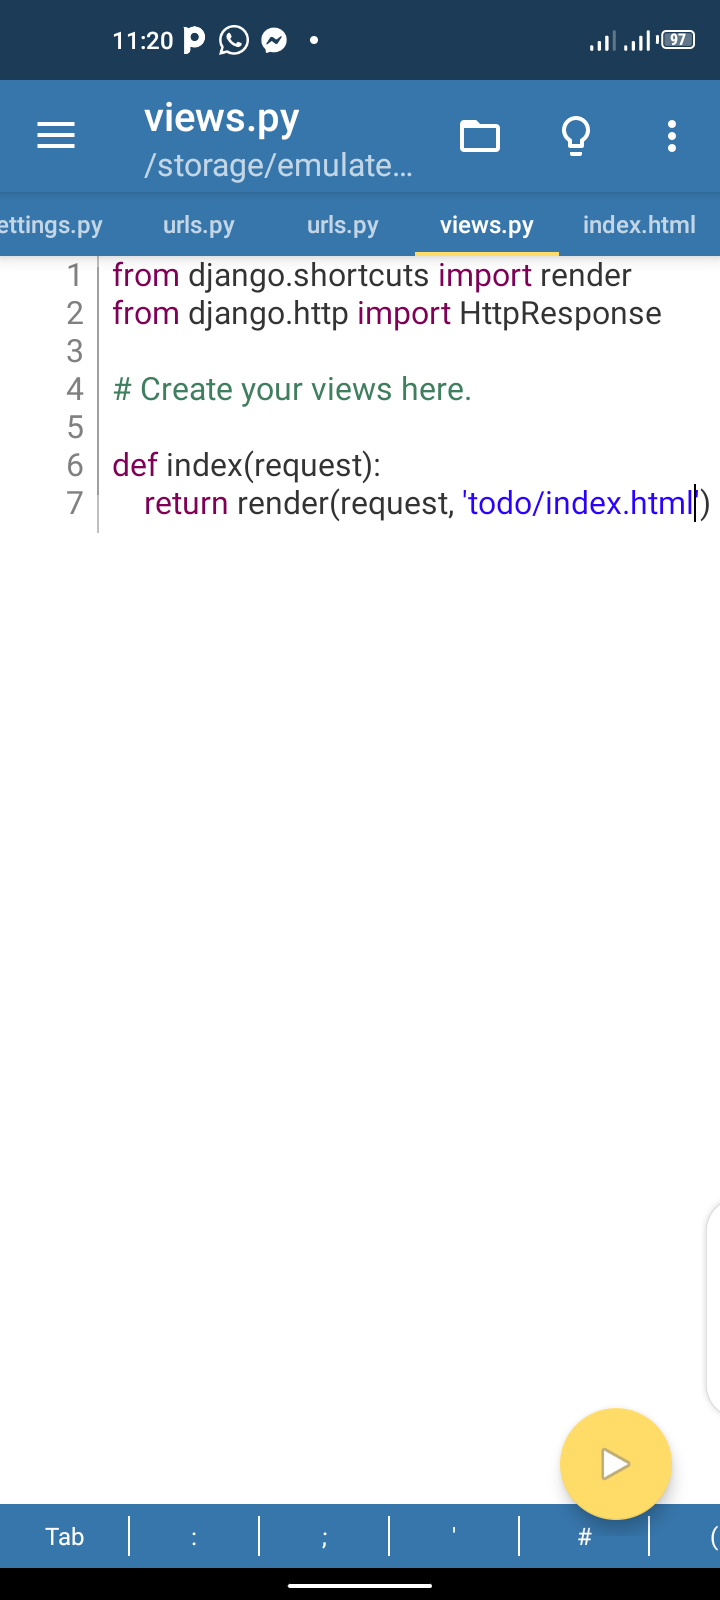
Now instead of returning response we returned a render view that allows us to render our HTML template now, save this open up your terminal cd into myapp and run it. We should have this
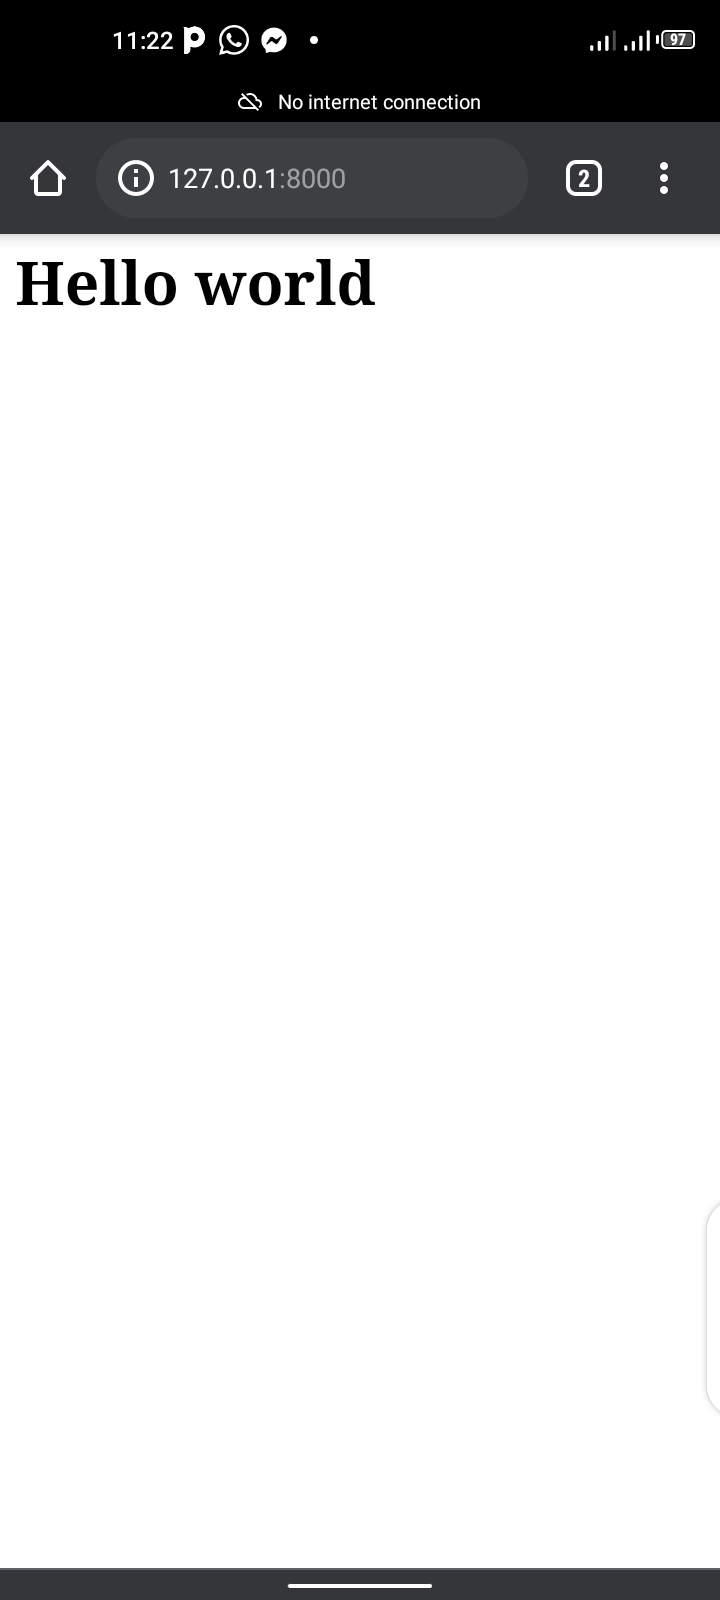
As you can see it works well - on to the next step.
How to Set Up the Static Files
Now to set up the static files, create a new folder in your todo directory and name it static. Inside that folder, create a folder and name it todo.
So it should be like this: /static/todo/.
In the todo directory, create a file and name it main.css. Then let's write a little styling in it:
body {
background-color: red;
}
And save it.
Now let's re-edit our index.html file by writing this code:
{% load static %}
<!Doctype html>
<html>
<head>
<title>My page</title>
<link rel="stylesheet" href="{% static 'todo/main.css' %}" >
</head>
<body>
Hello
</body>
</html>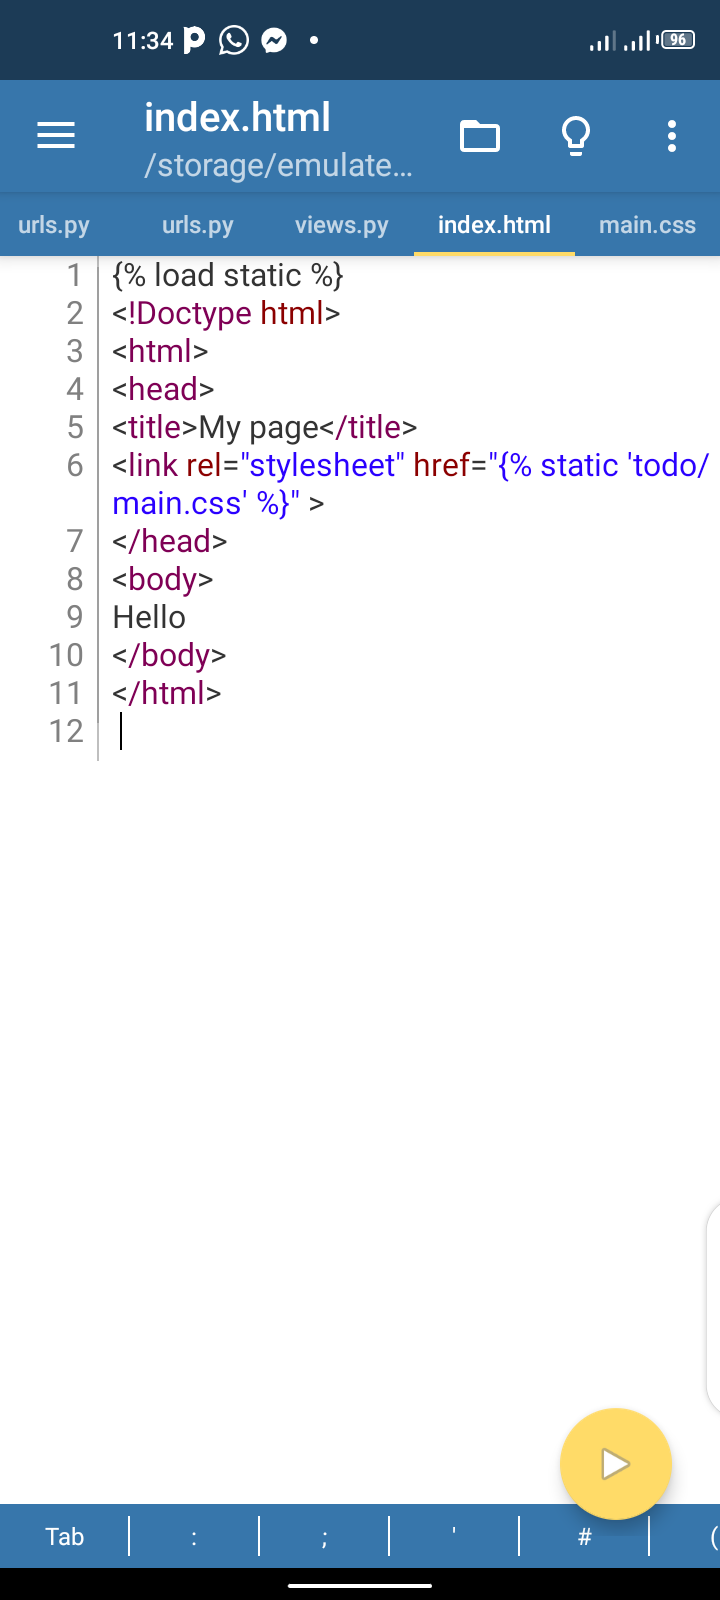
And now let's run it:
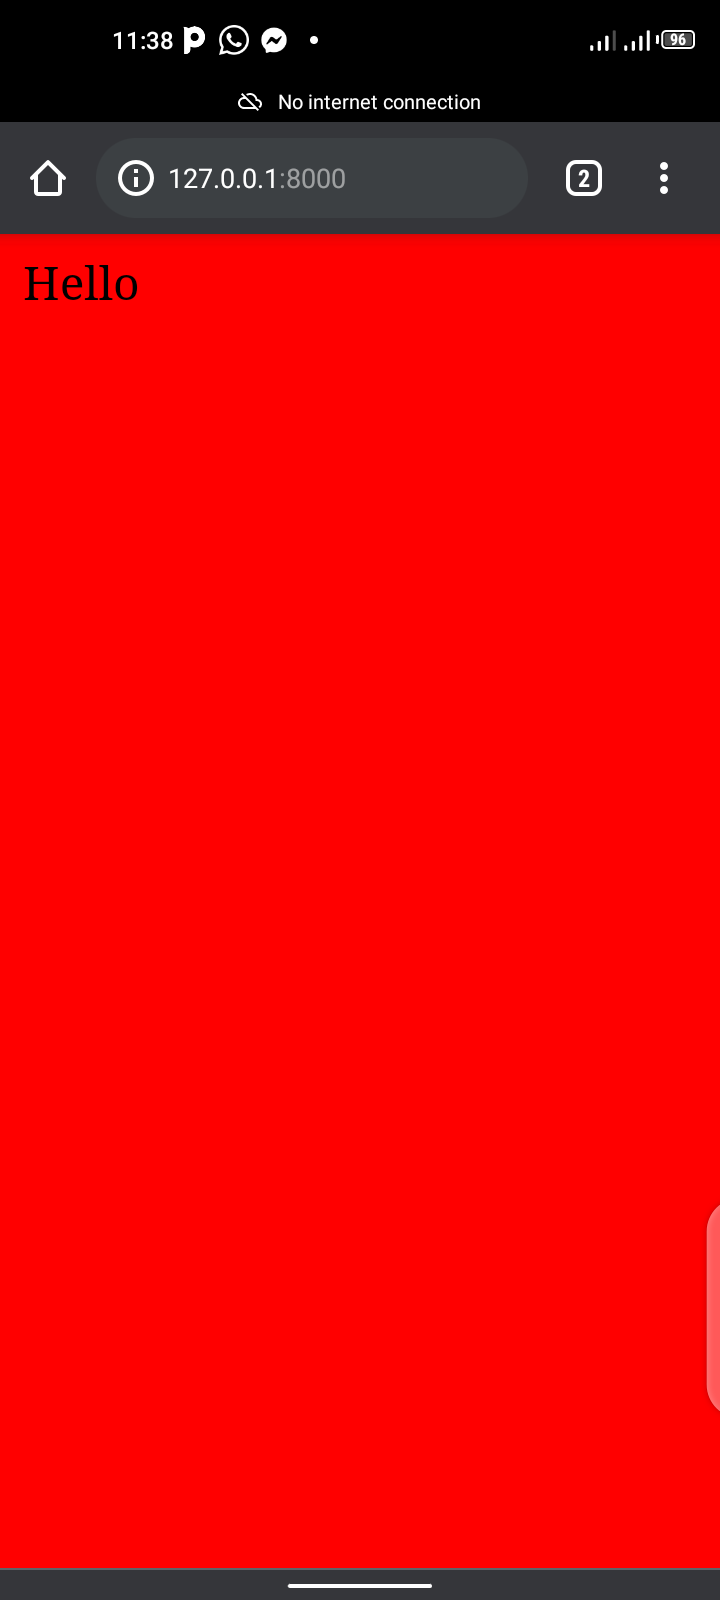
If you've followed along with me, then you should have the above.
How to Load the Models and Admin Panel
Now to load up our admin panel, we need to create a superuser. This is simple to do – just open up your terminal and cd into the myapp folder then type python manage.py createsuperuser and hit enter. You should see this:

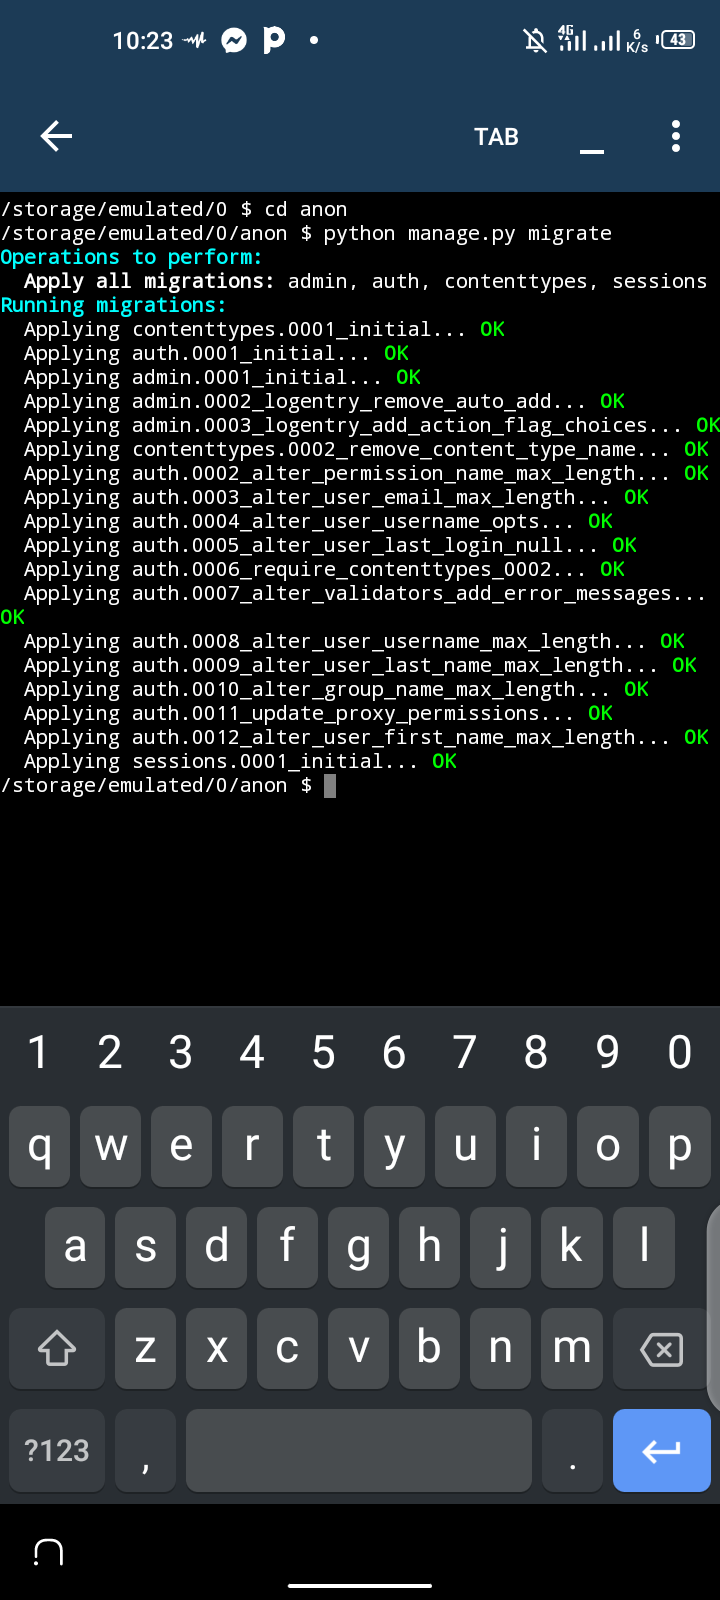
We get an error because we haven't run python manage.py migrate yet. So type that and hit enter, and you should have something like this:
Now type in python manage.py createsuperuser and hit enter:
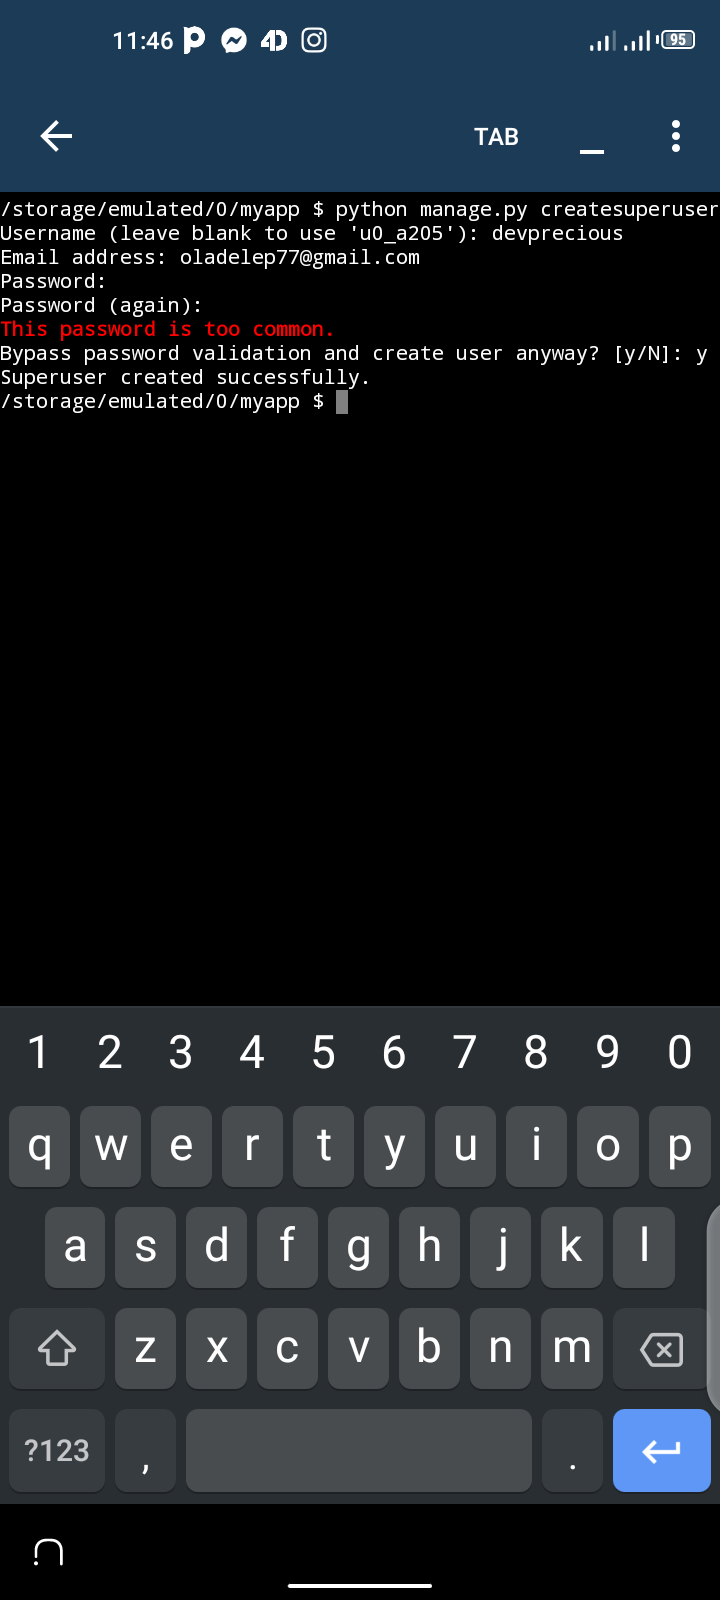
Just fill in the credentials. The next thing we need to do is to run our server and point to 127.0.0.1:8000/admin.
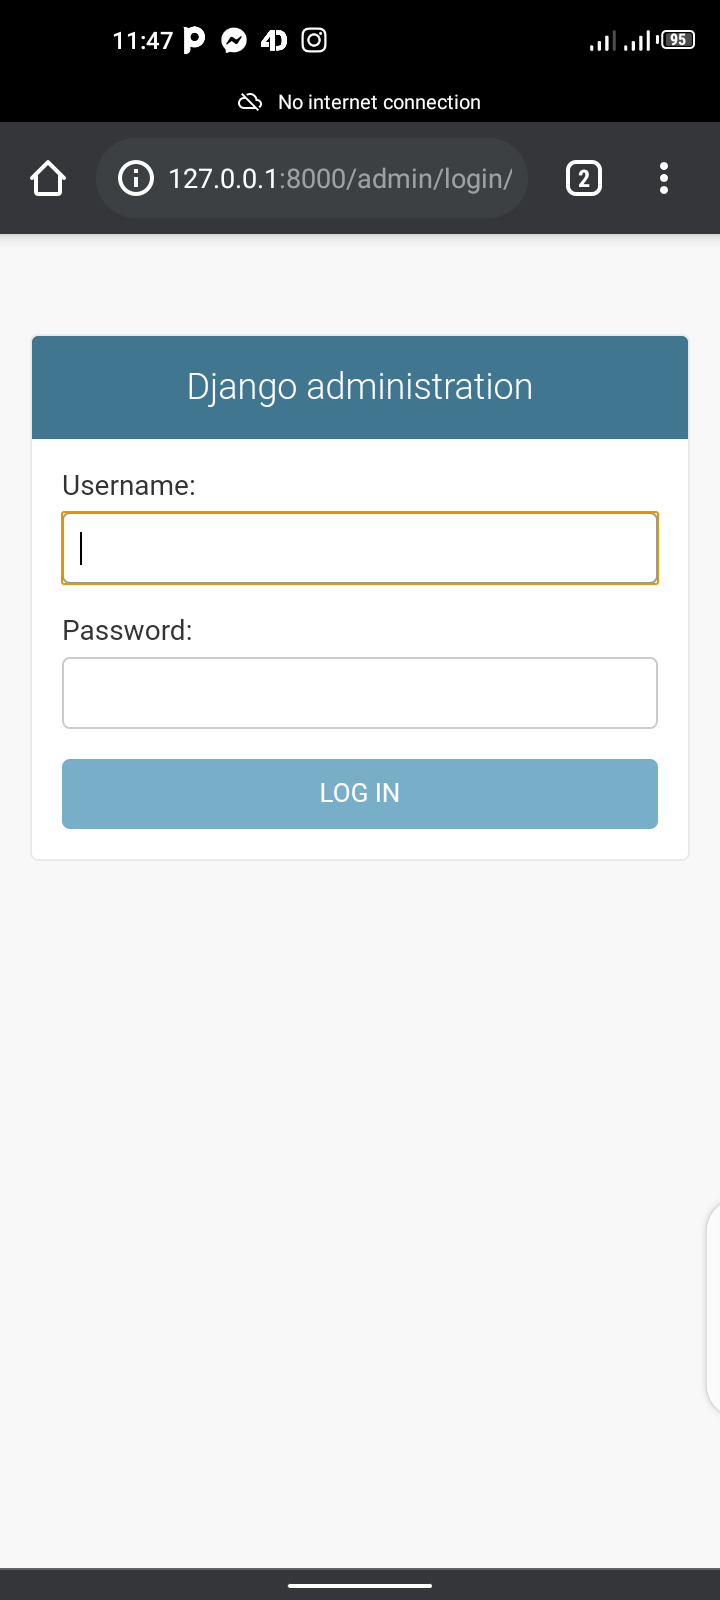
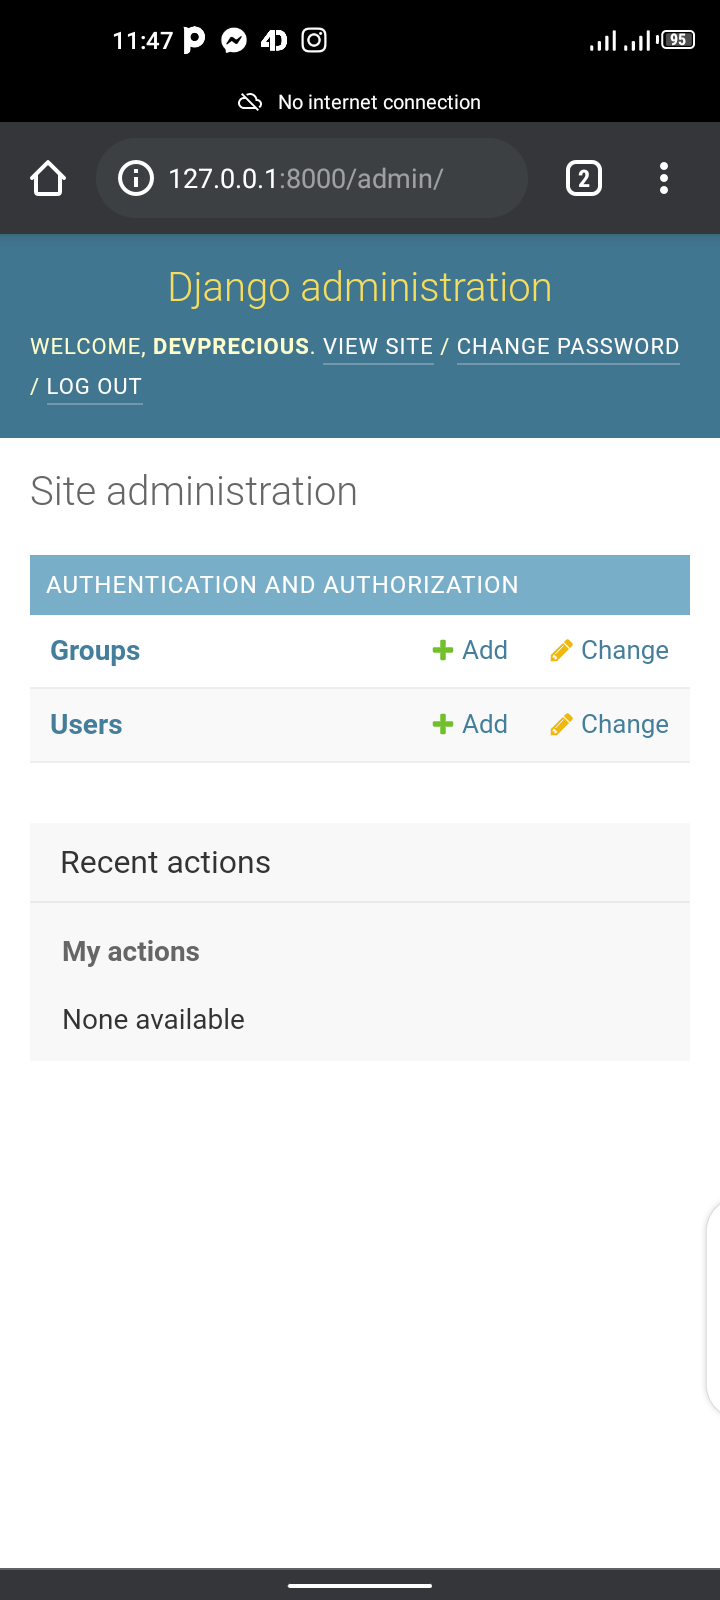
Login and you will be directed to the dashboard:
Now that we have done the admin panel, let's work with the model (database). We'll create a model that collects contents. So open your models.py file and type in this code:
class Post(models.Model):
	content = models.CharField(max_length=255, null=False)

    def __str__(self):
    	return self.content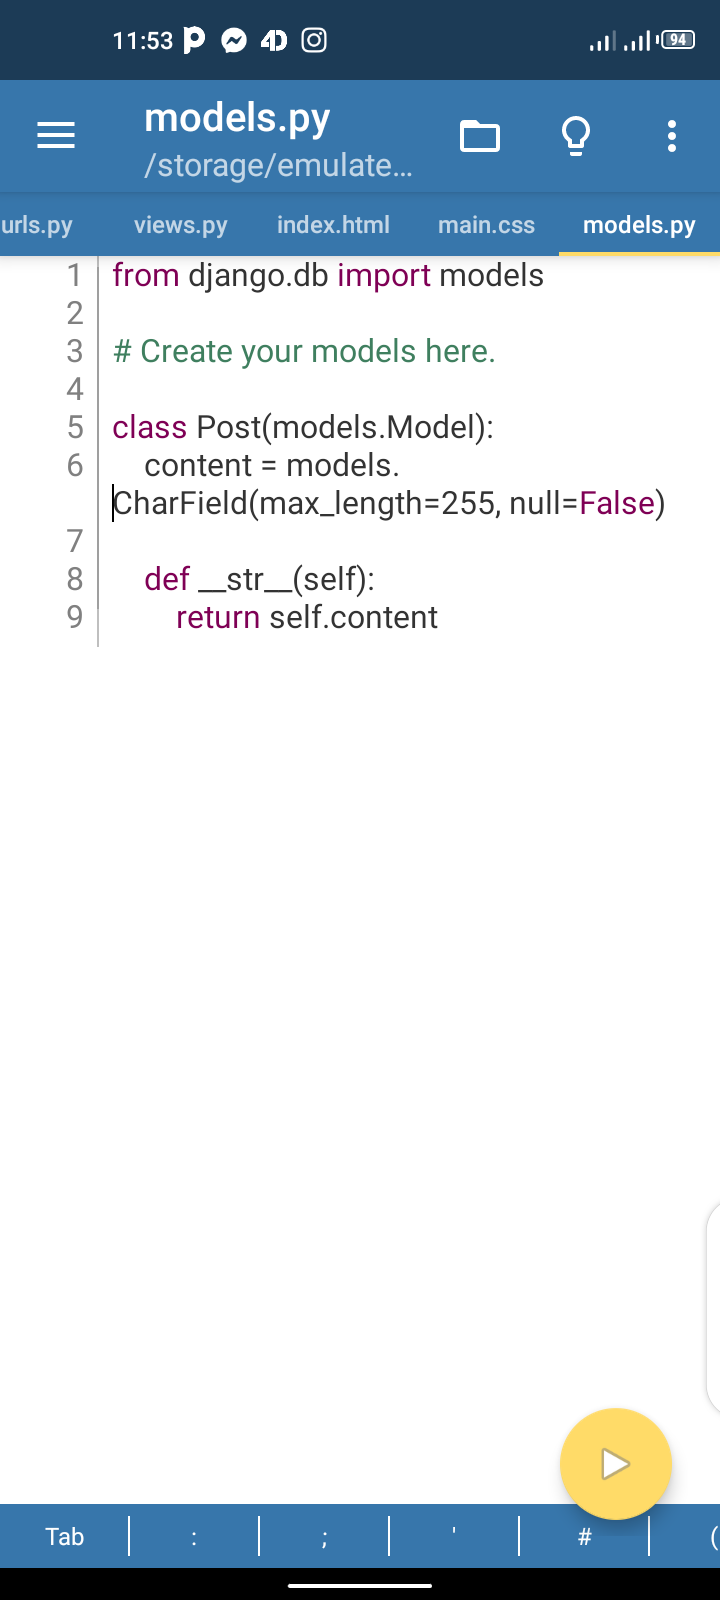
We create a class that has the parameter models. Model and gives a variable content that holds a CharField(), more like a text field. Lastly, we create a magic str that returns the name of the model instead of an object.
So next we need to run the migration. Open your terminal, cd into myapp, and type python manage.py makemigrations. You should see this:
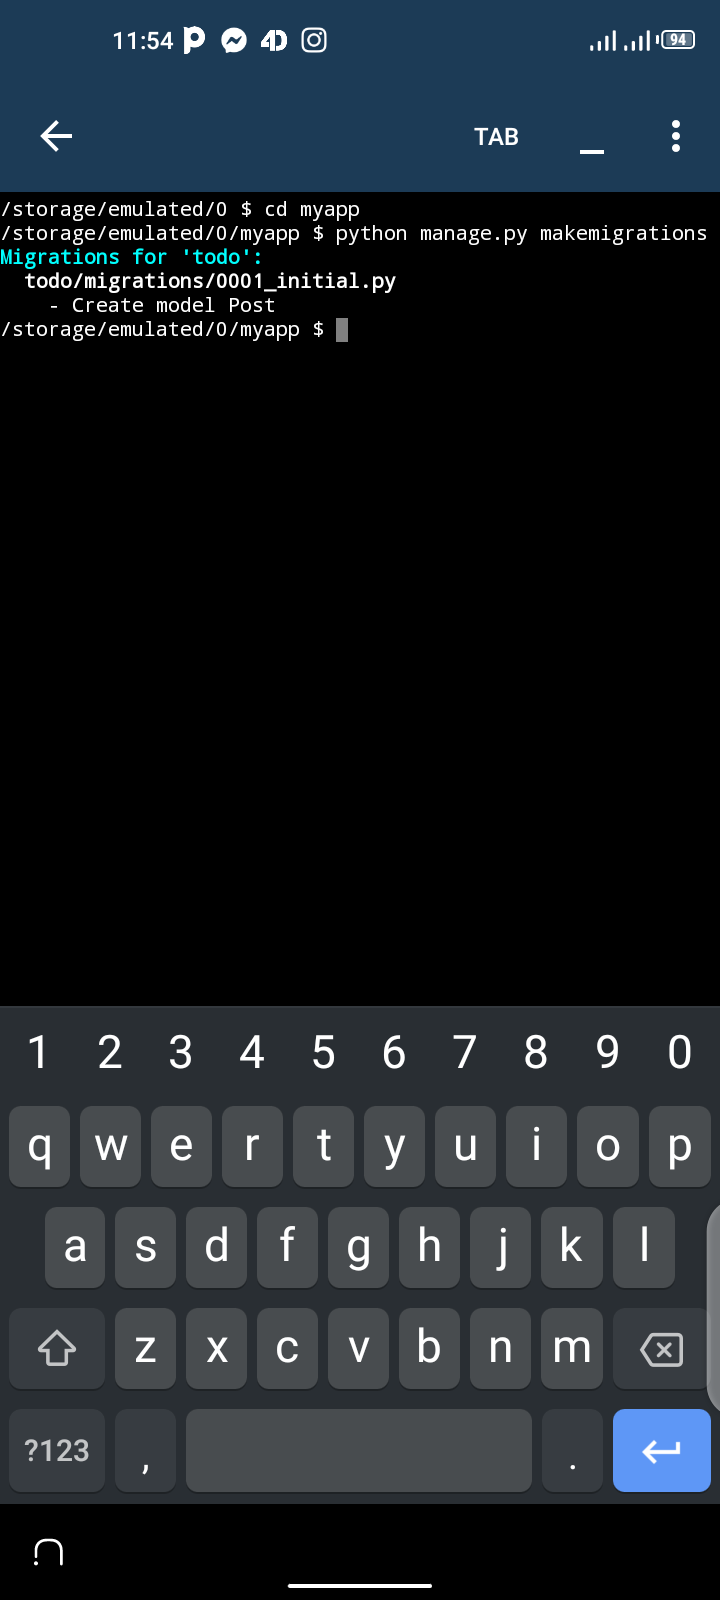
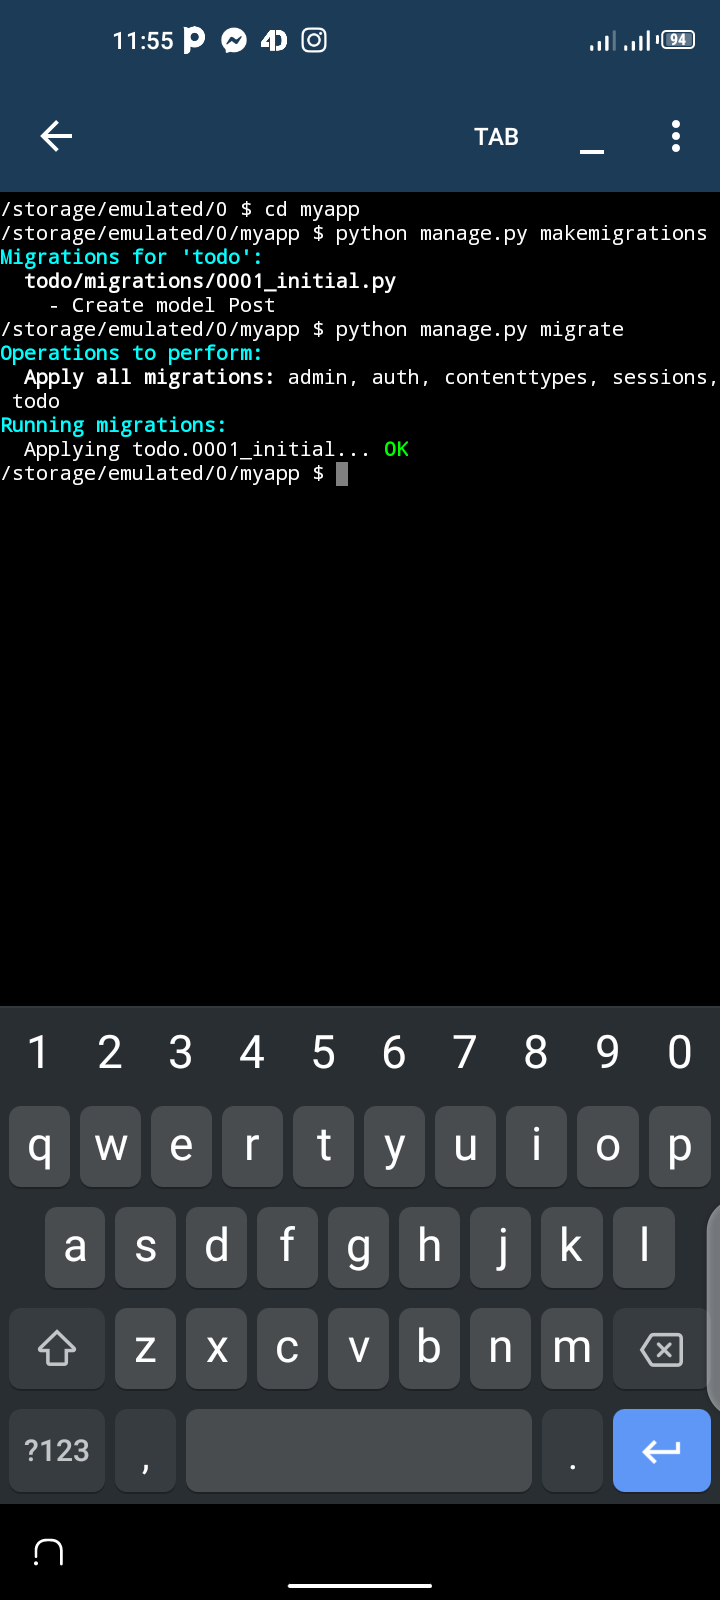
That means it has created the Post table in our database. Then also run python manage.py migrate which will result in the following:
This means that all is clear. Now to add it to the admin page, open up admin.py and type in this code:
from .models import *

admin.site.register(Post)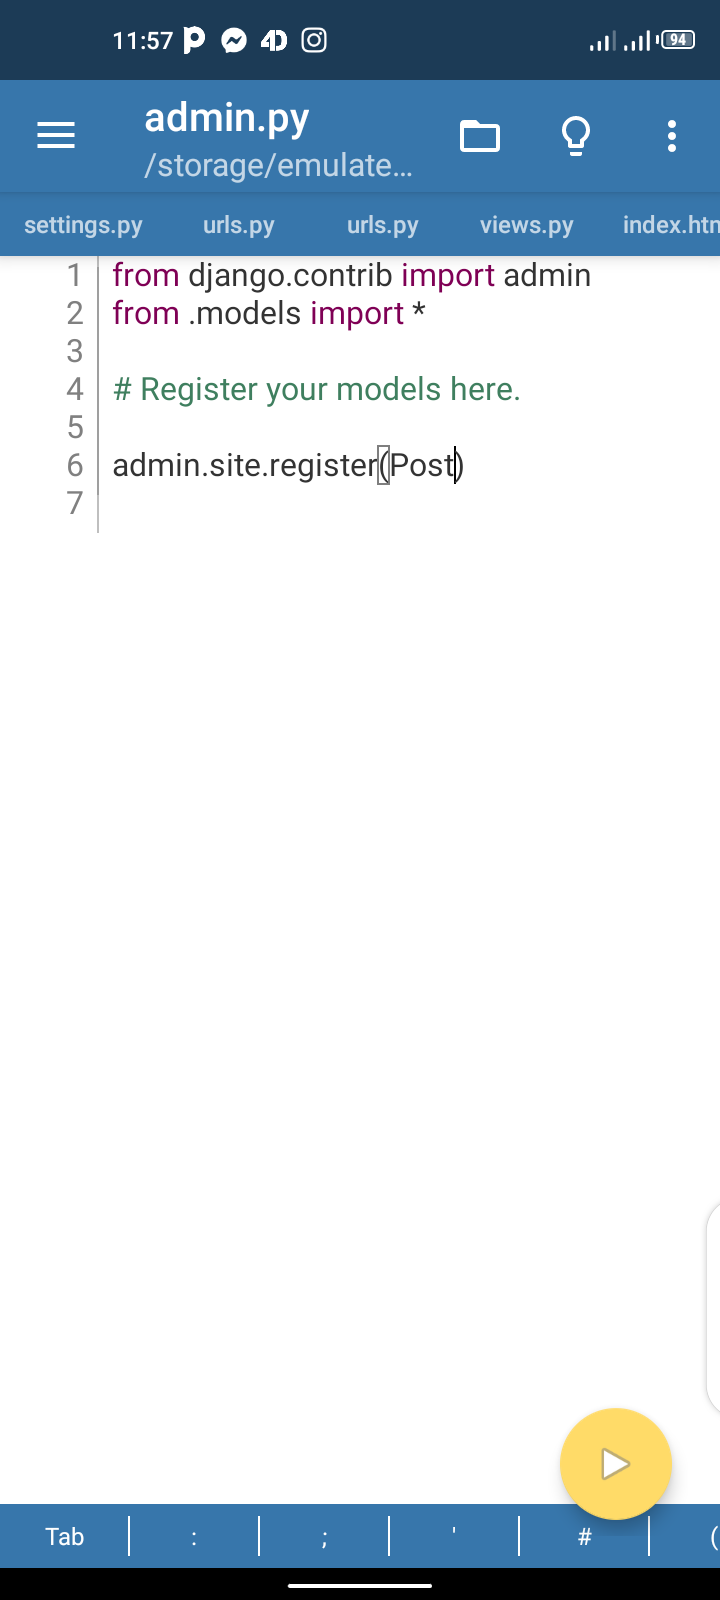
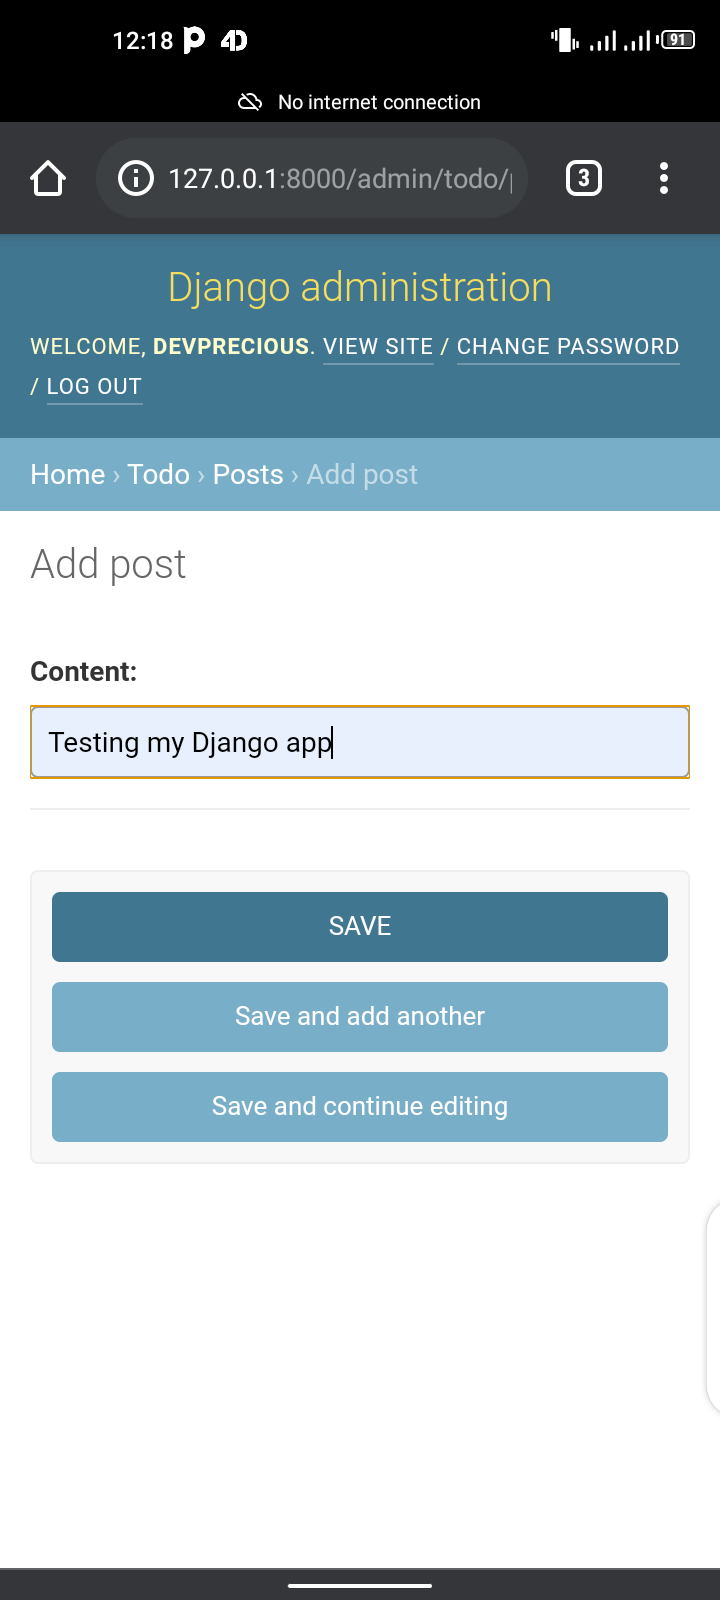
We imported all model classes from the model and registered the post model in the admin panel. Now if we open the admin panel we should see the post and save some data.
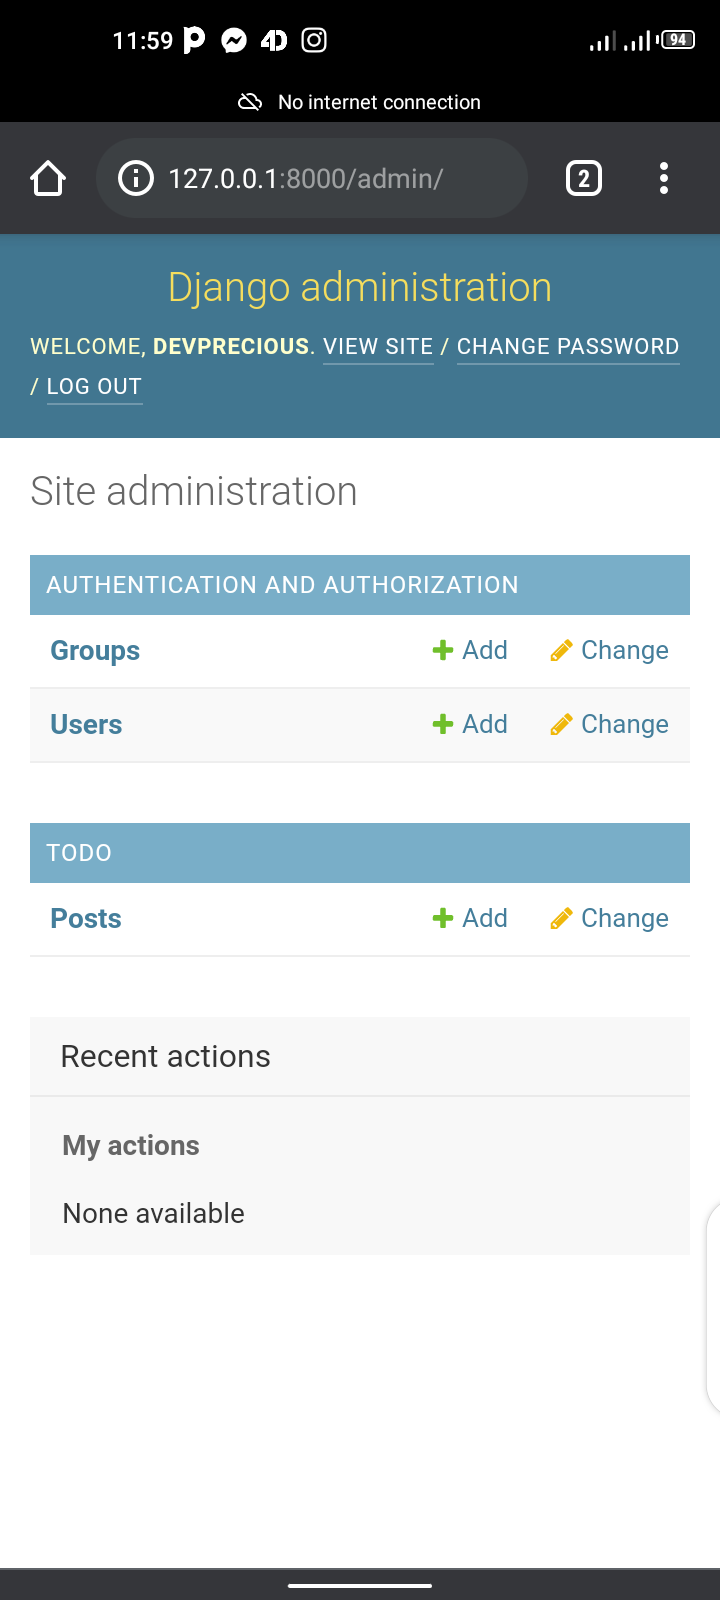
Notice that it's now in the todo app list:

After clicking on it you should see this:

Then you can create a post if you like.
How to Render Data from DB to View
Lastly, we will fetch our data from the DB. To do so we need to update our views.py as follows:
from .models import *

def index(request):
	content = Post.objects.all()
    context = {'content': content}
    return render(request, 'todo/index.html', context)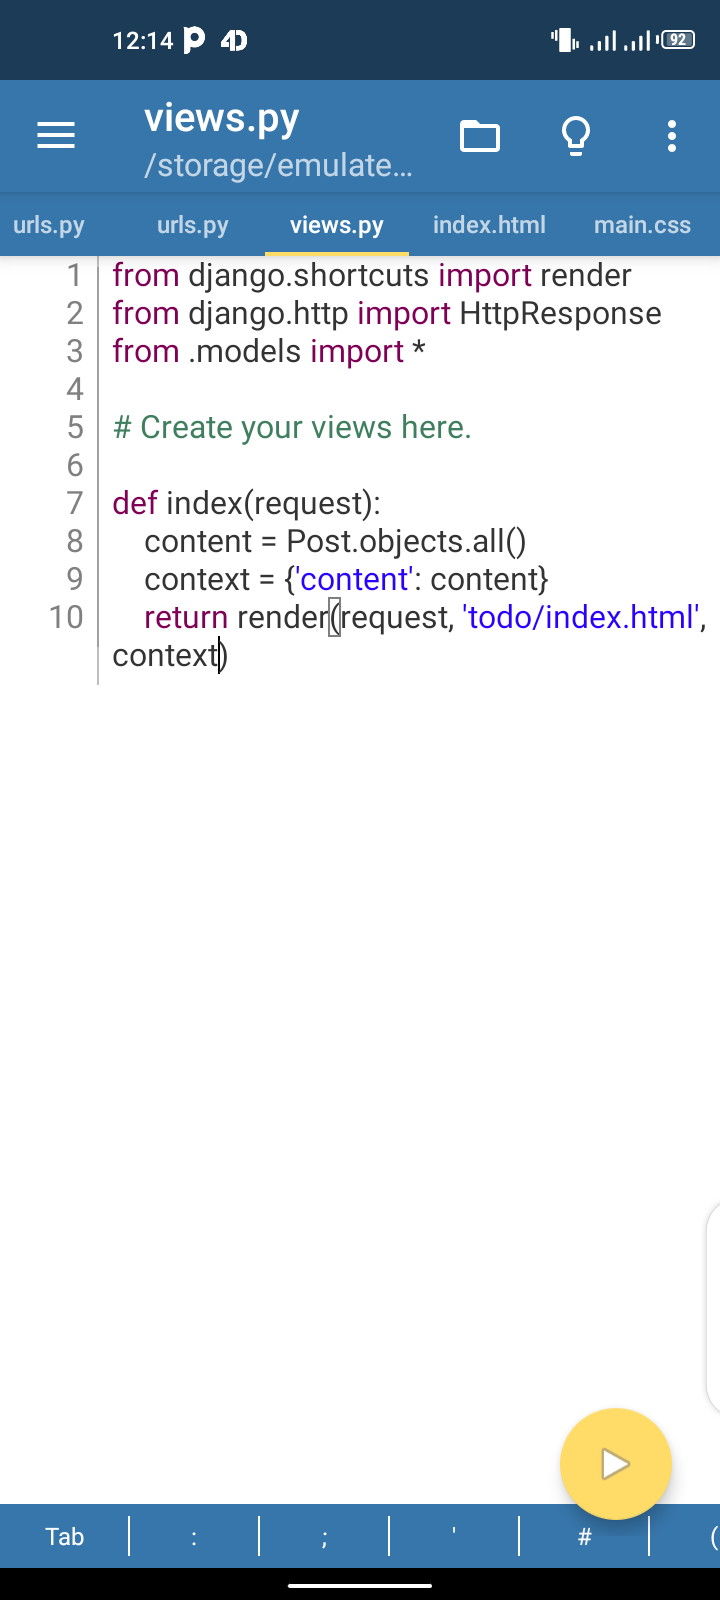
It's as simple as that: we imported all from models.py, created a variable called content, and retrieved all the data from the table Post. Then we passed it as a dictionary to our view. So in our index.html to make it work just add this:
{% for contents in content %}
{{content.content}}
{% endfor %}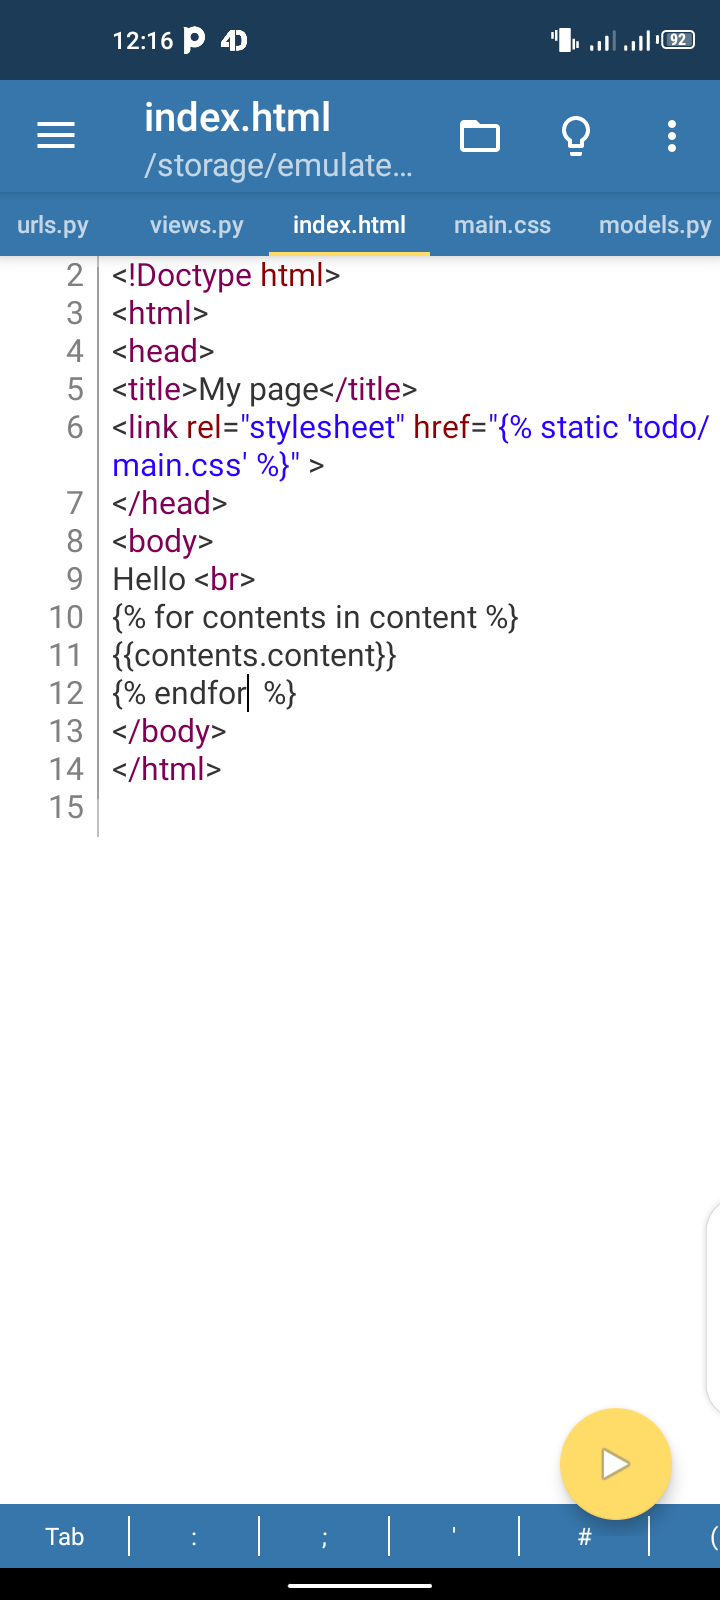
Here, we wrote a loop using the templates tag and fetched all the data content. Now open your terminal, cd into myapp, and run the server to see the magic happen:
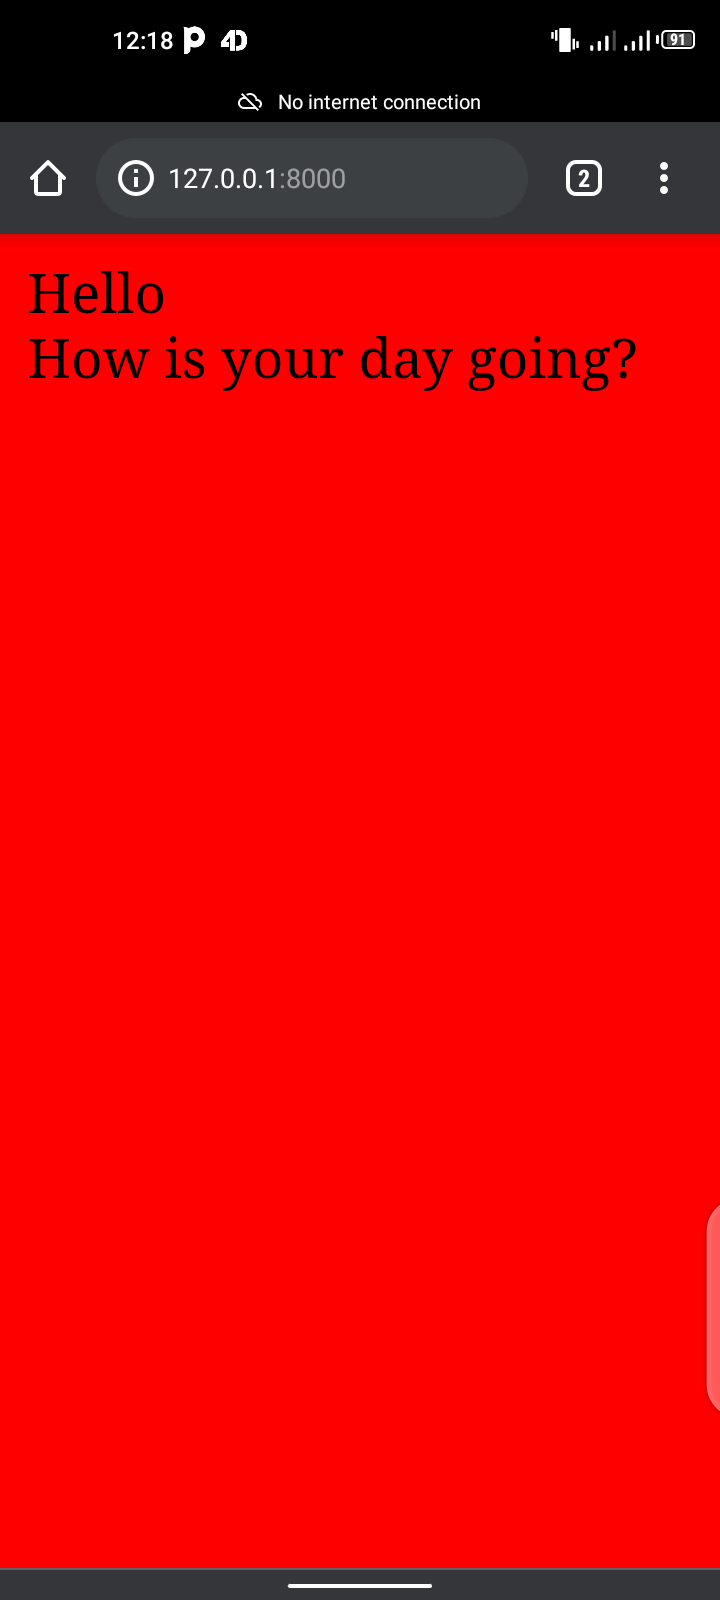
It works, but let's confirm that it does:
And the result should be the following:
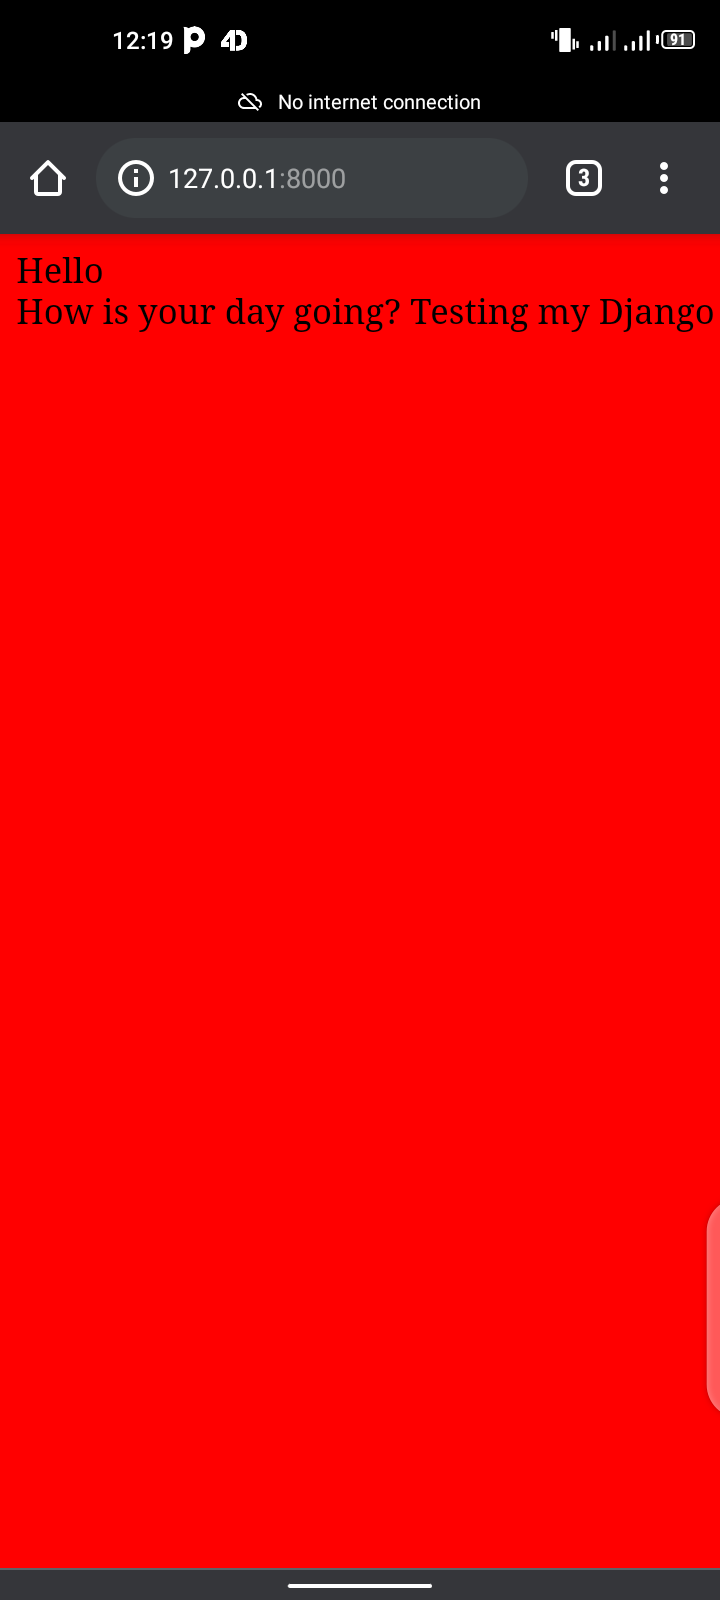
Violà – it works fine. Lastly, you can just add a line break so you can read it more clearly. And we're done!
Thank you for reading. If you want to go through an in-depth Django tutorial please visit my YouTube channel Devstack and subscribe.
@Credits: FreeCodeCamp - Precious Oladele
